Create Layered Topics to keep your content focused and organized. Use this strategy to reduce clutter and keep Topics clean.
Layered Topics are great for storing additional information that might be of interest to your employees in a different place, allowing employees to opt in to viewing more information about a Post.
🌟 Strategies
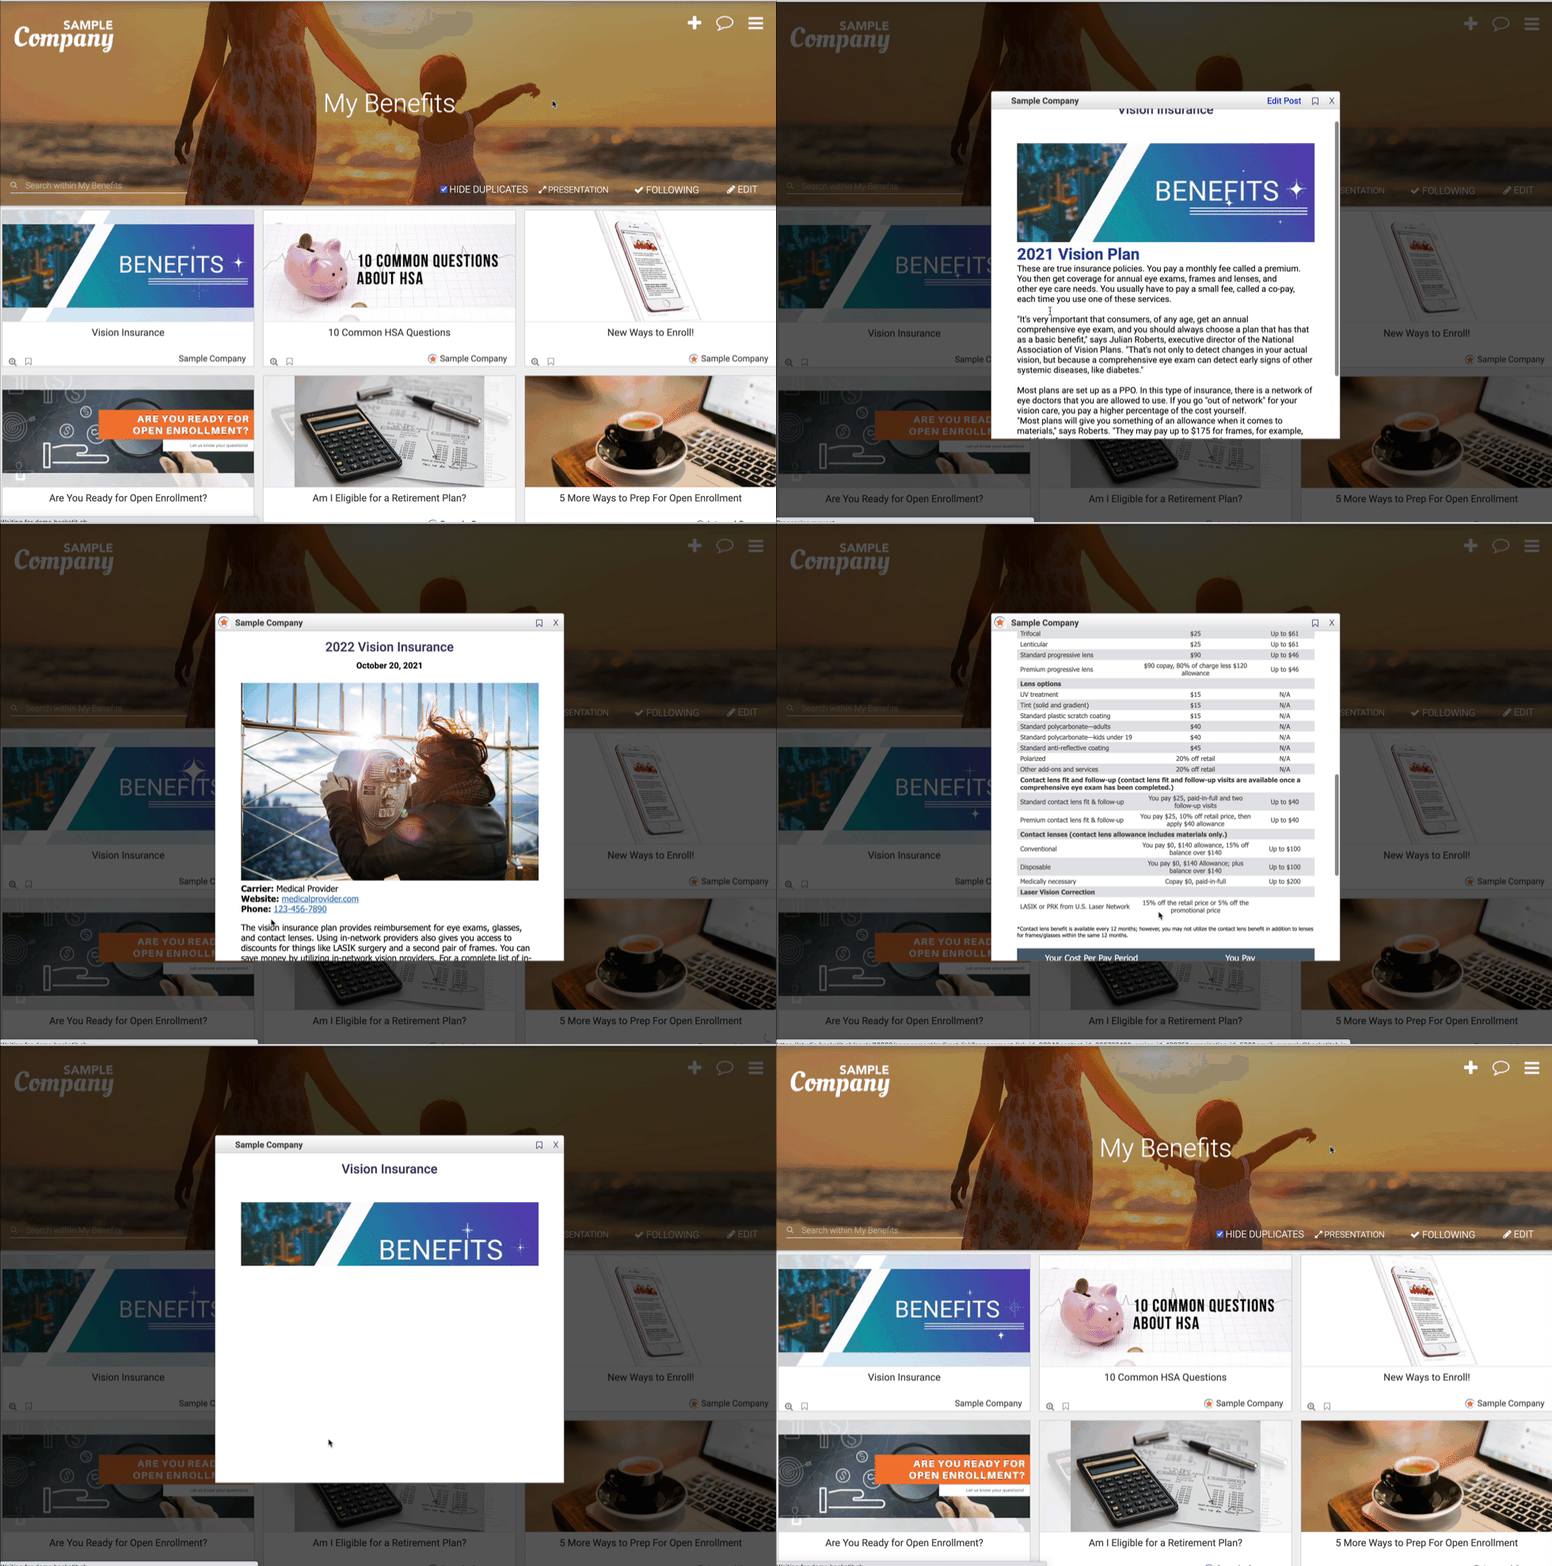
Use Layered Topics to expand your Benefits page.
Your company's Benefits page showcases important information and it helps to break down the details in a series of Posts. For example, you could have the main Post on the Benefits page highlight key information and generally introduce the type of insurance. Then a linked Post can include a complex breakdown of the insurance plan with a table.
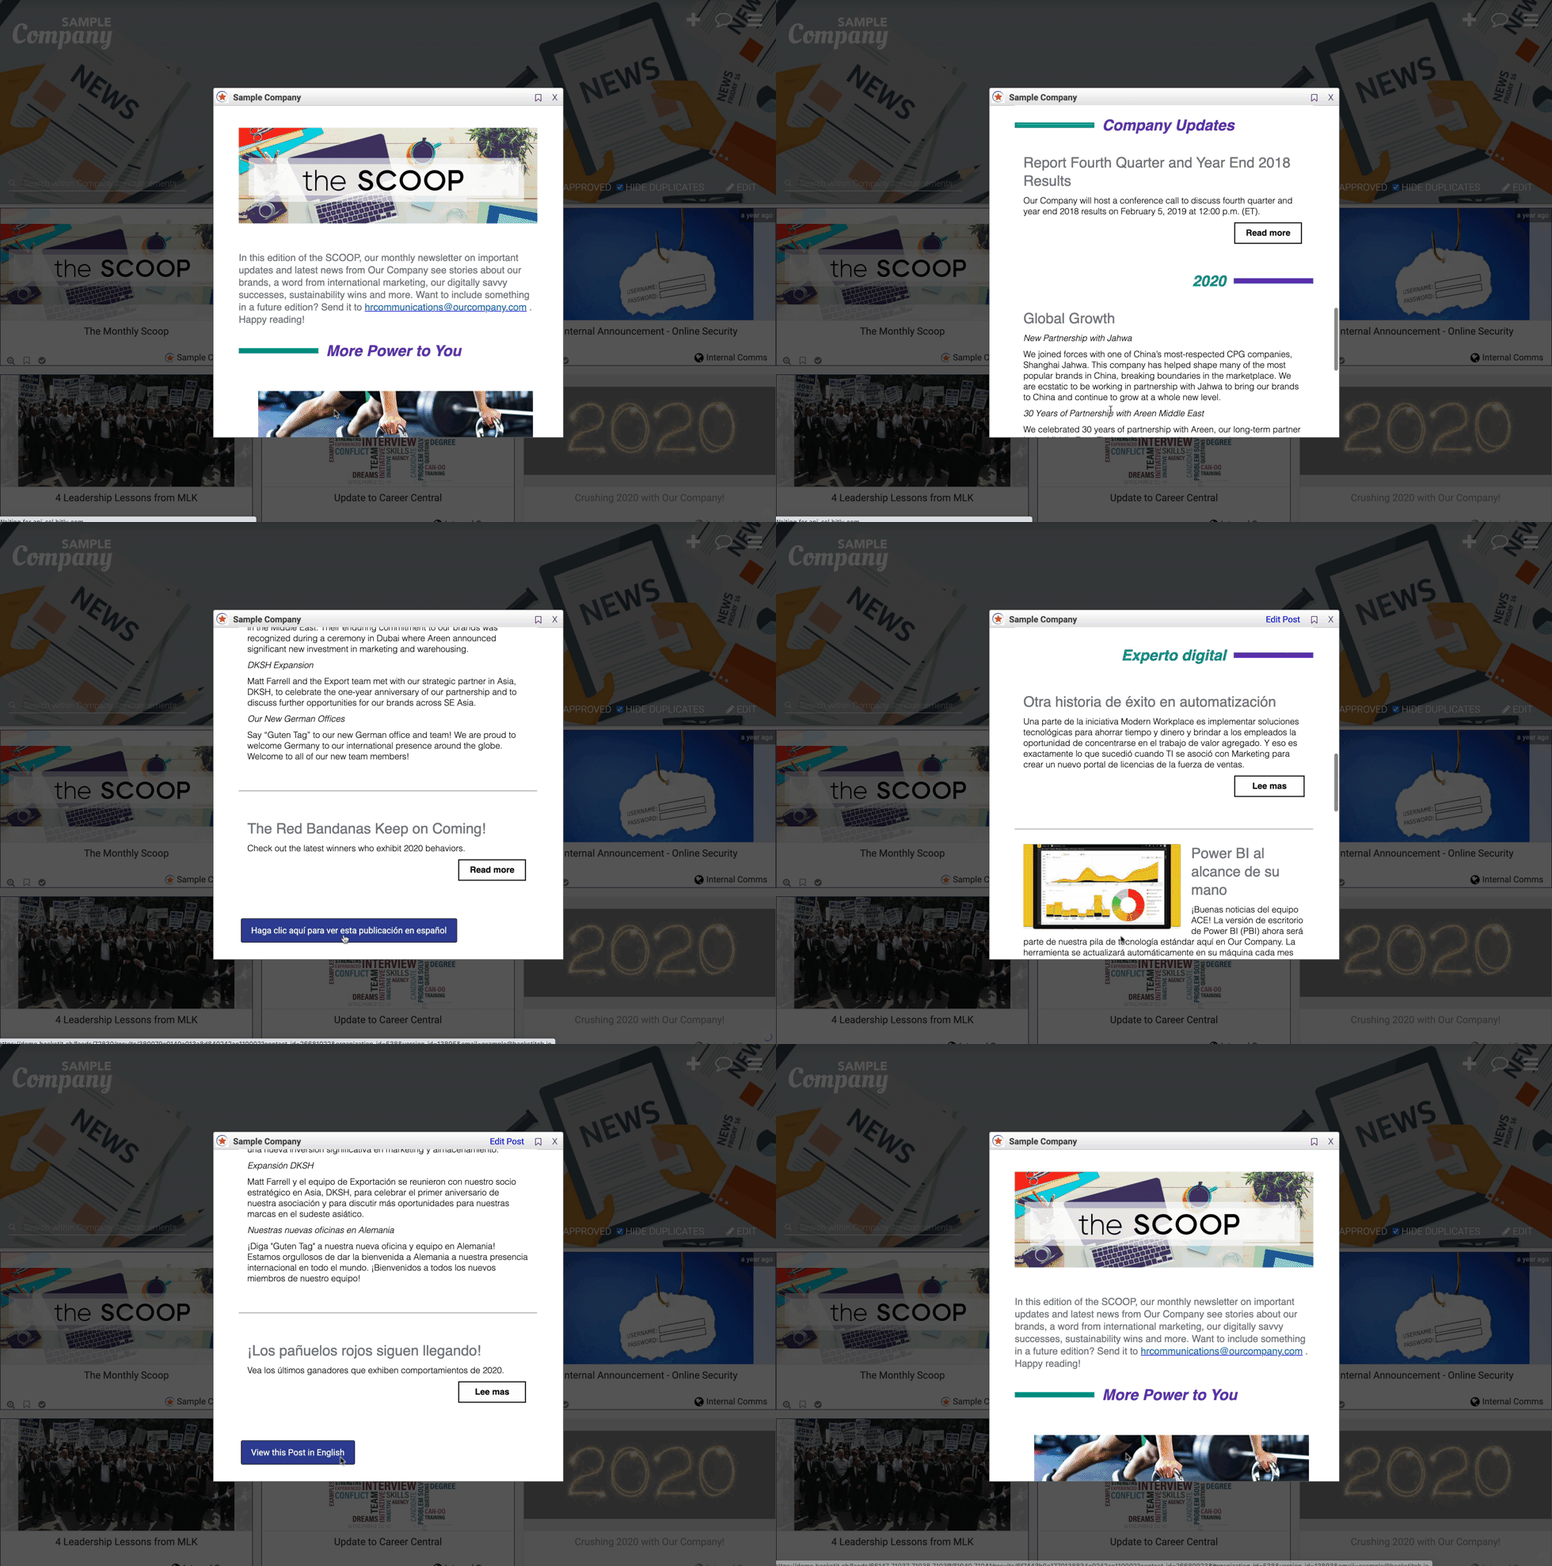
Publish Translated Posts to a Layered Topic.
Allowing the ability to easily translate a Post with a button can make it easier for your employees to read your content. If every Post and its translated version were Published to the same Topic, it may get overwhelming. By creating a Layered Topic that stores translated Posts, you are able to save space within the Topic and keep navigation within the Topic simple. Learn how to toggle between translated Posts here!
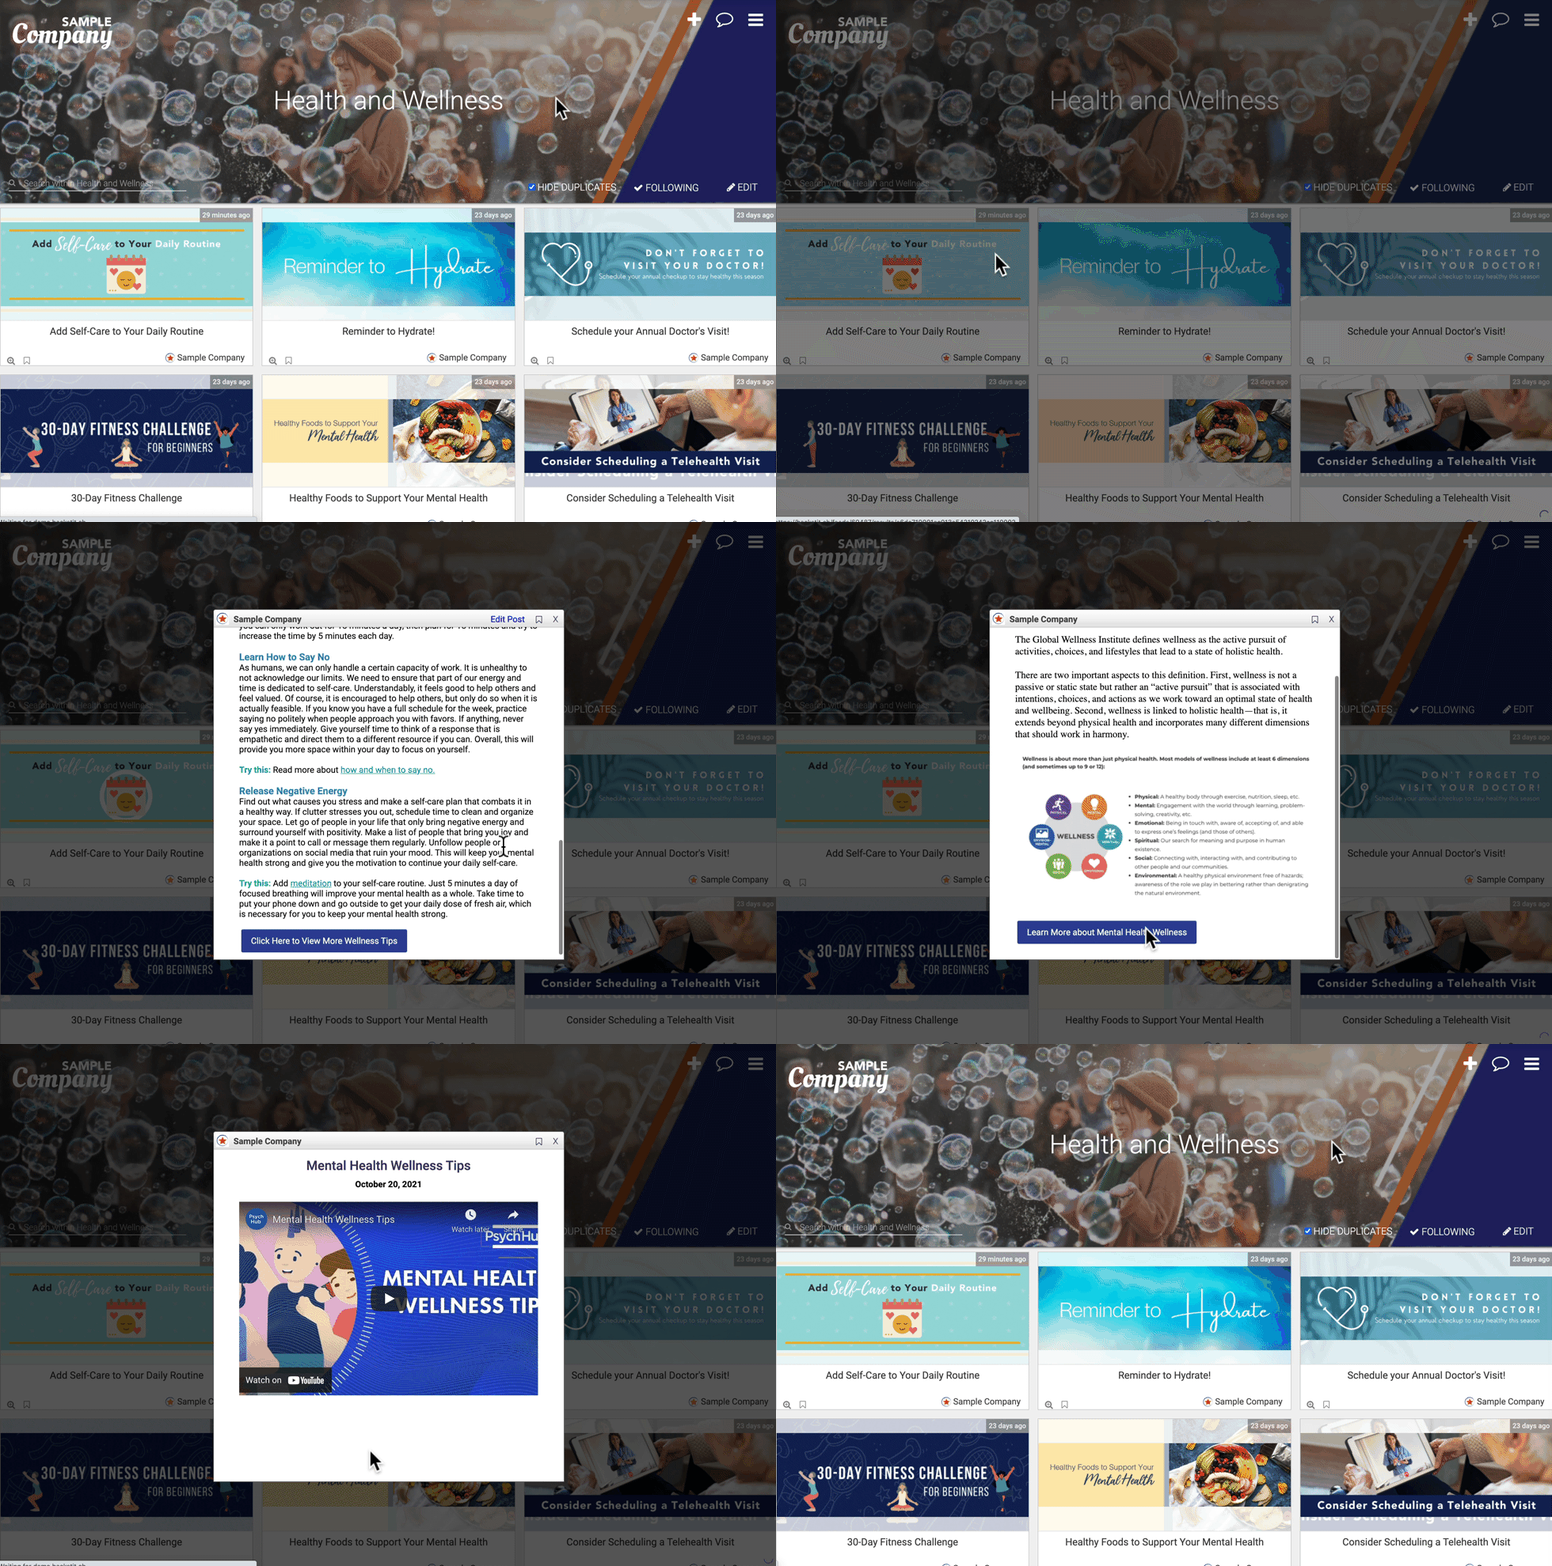
Create Linked Posts for extended content.
Posts shown in your Topic can 'link' to other Posts for additional resources or information. For example, a wellness-related Post that mentions an important health issue can link to a 'Linked Post' that includes PDF documents, graphics, and videos to enrich the primary subject.
Engage your employees with a Scavenger Hunt.
To encourage employees to explore Reader, host a Scavenger Hunt! Layered Topics can make the search more challenging and can add interactivity to the game.
✅ How to Create a Layered Topic
Studio makes it easy to quickly create a survey to assess your employee's perspectives.
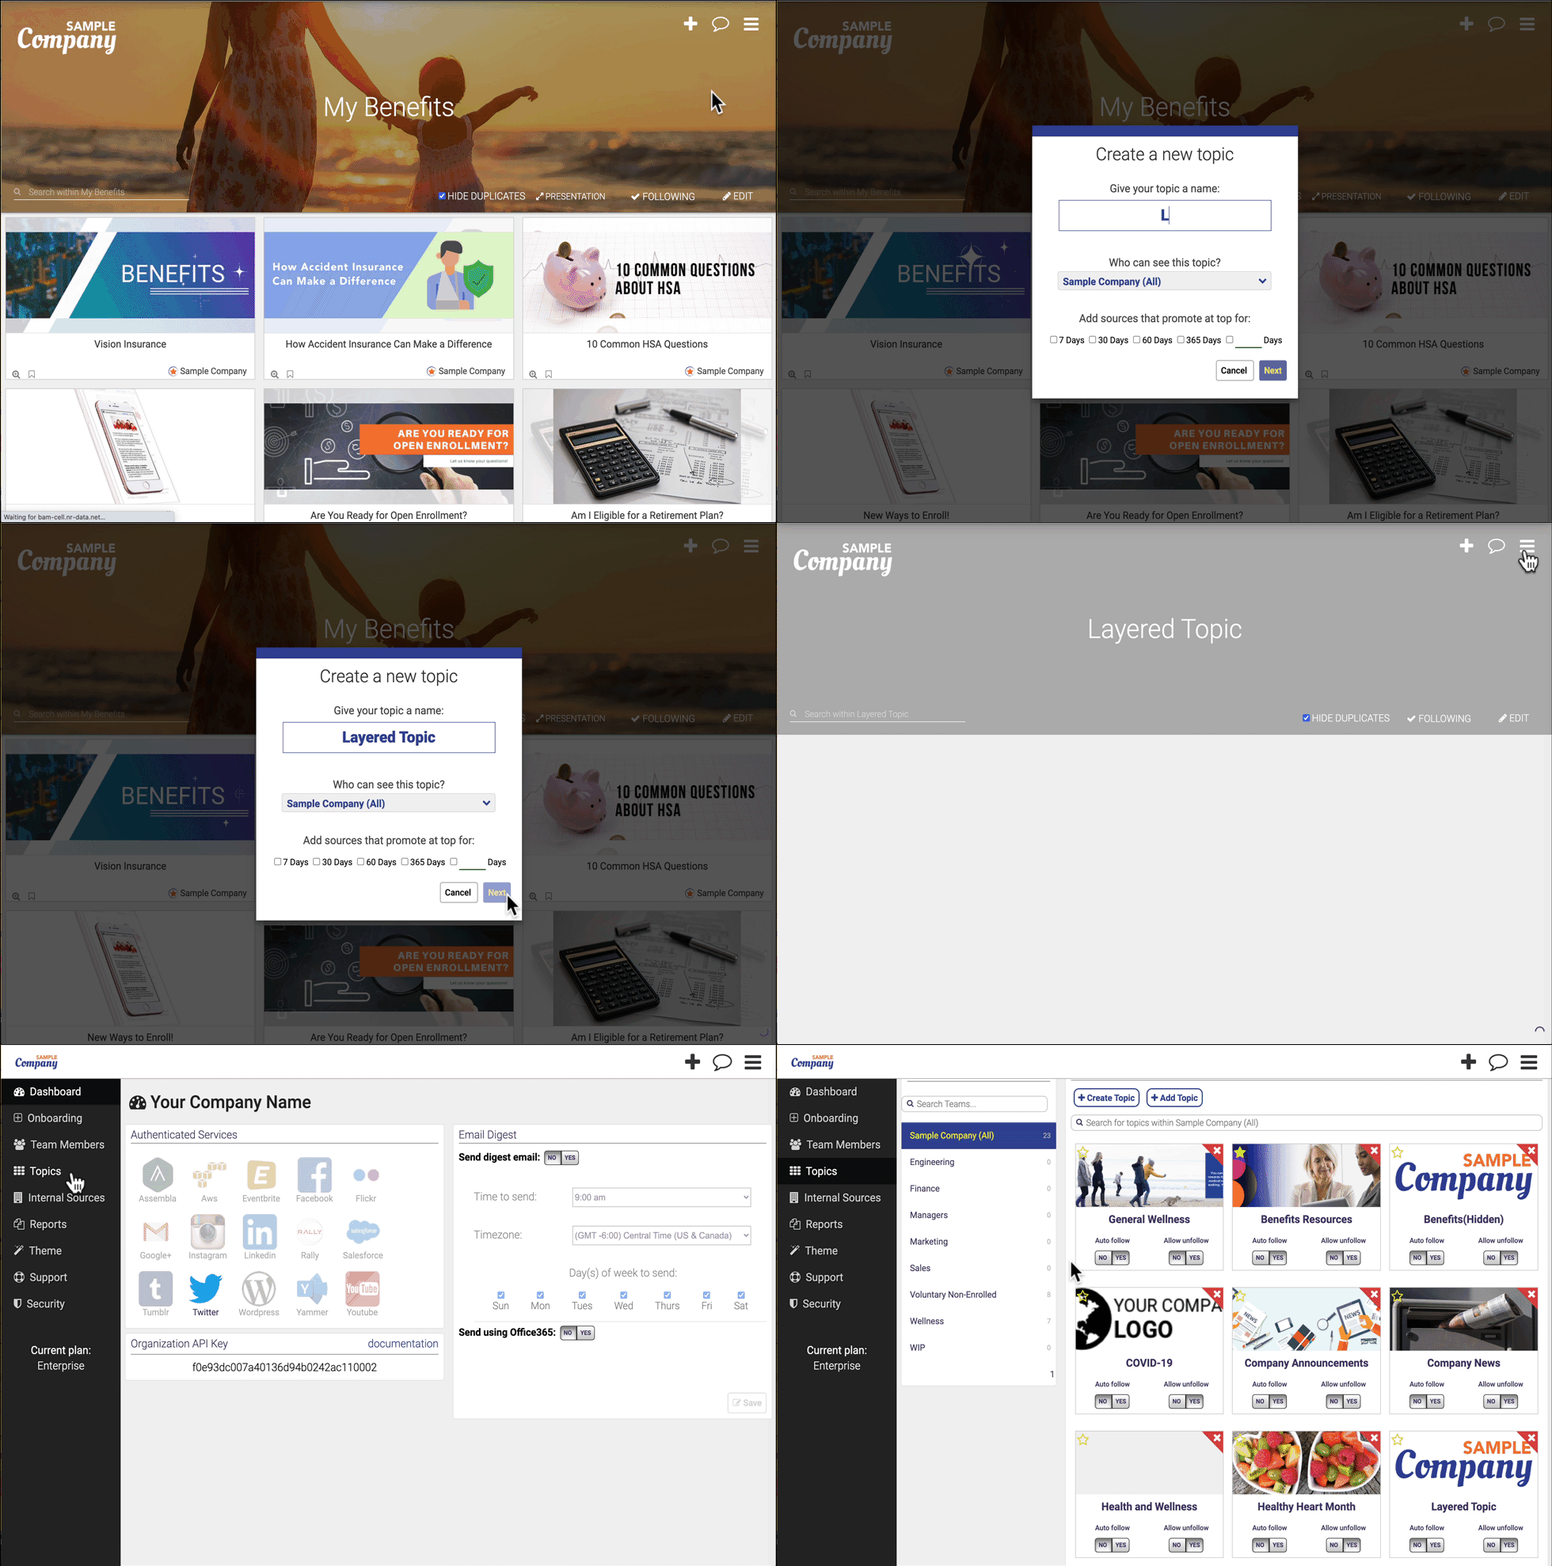
Step 1: Create Layered Topic in Reader
-
- Create a new Topic. Reference: How do I Create a New Topic?
- In the Organization Admin Dashboard, find your new Topic on the right side of the screen.
-
- Toggle "No" underneath the Auto Follow option that is below your new Topic.
- Toggle "No" underneath the Auto Follow option that is below your new Topic.
Step 2: Publish the Linked Post
-
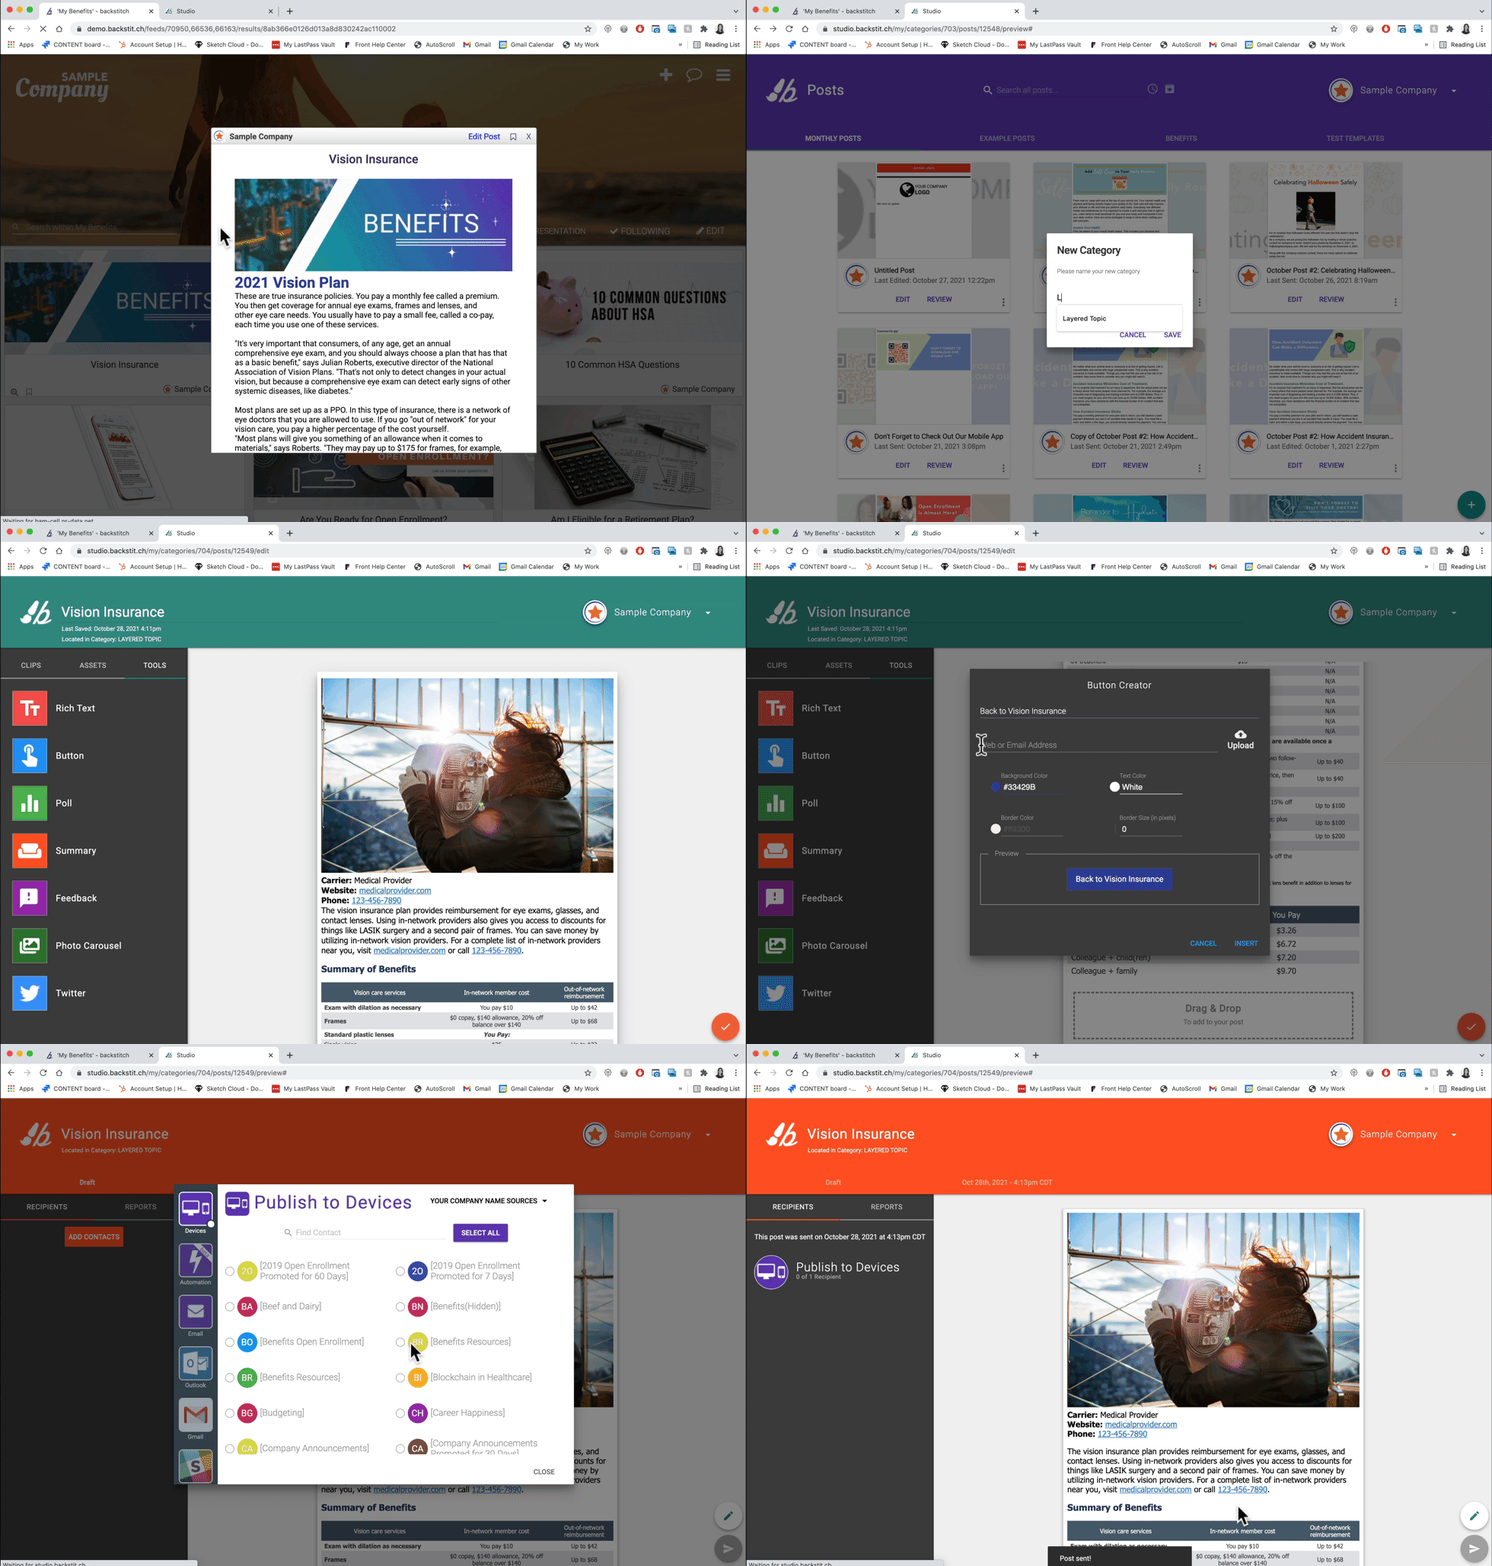
- Publish the main Post that links to the Linked Post (See 'How do I Publish to a Topic?')
- Copy the link to the main Post you've published in Reader.
- In Studio Post Manager, create a new Category that will store Linked Posts.
- Create a new Post within the Category.
- At the bottom of the Post, add a new Button that has "Click here to go back" verbiage.
- Paste the link to the main Post in the Button Creator. Reference: How do I Create a Button with a Link?
- Publish the Linked Post to the Layered Topic.
Step 3: Link the Linked Post to the Main Post
-
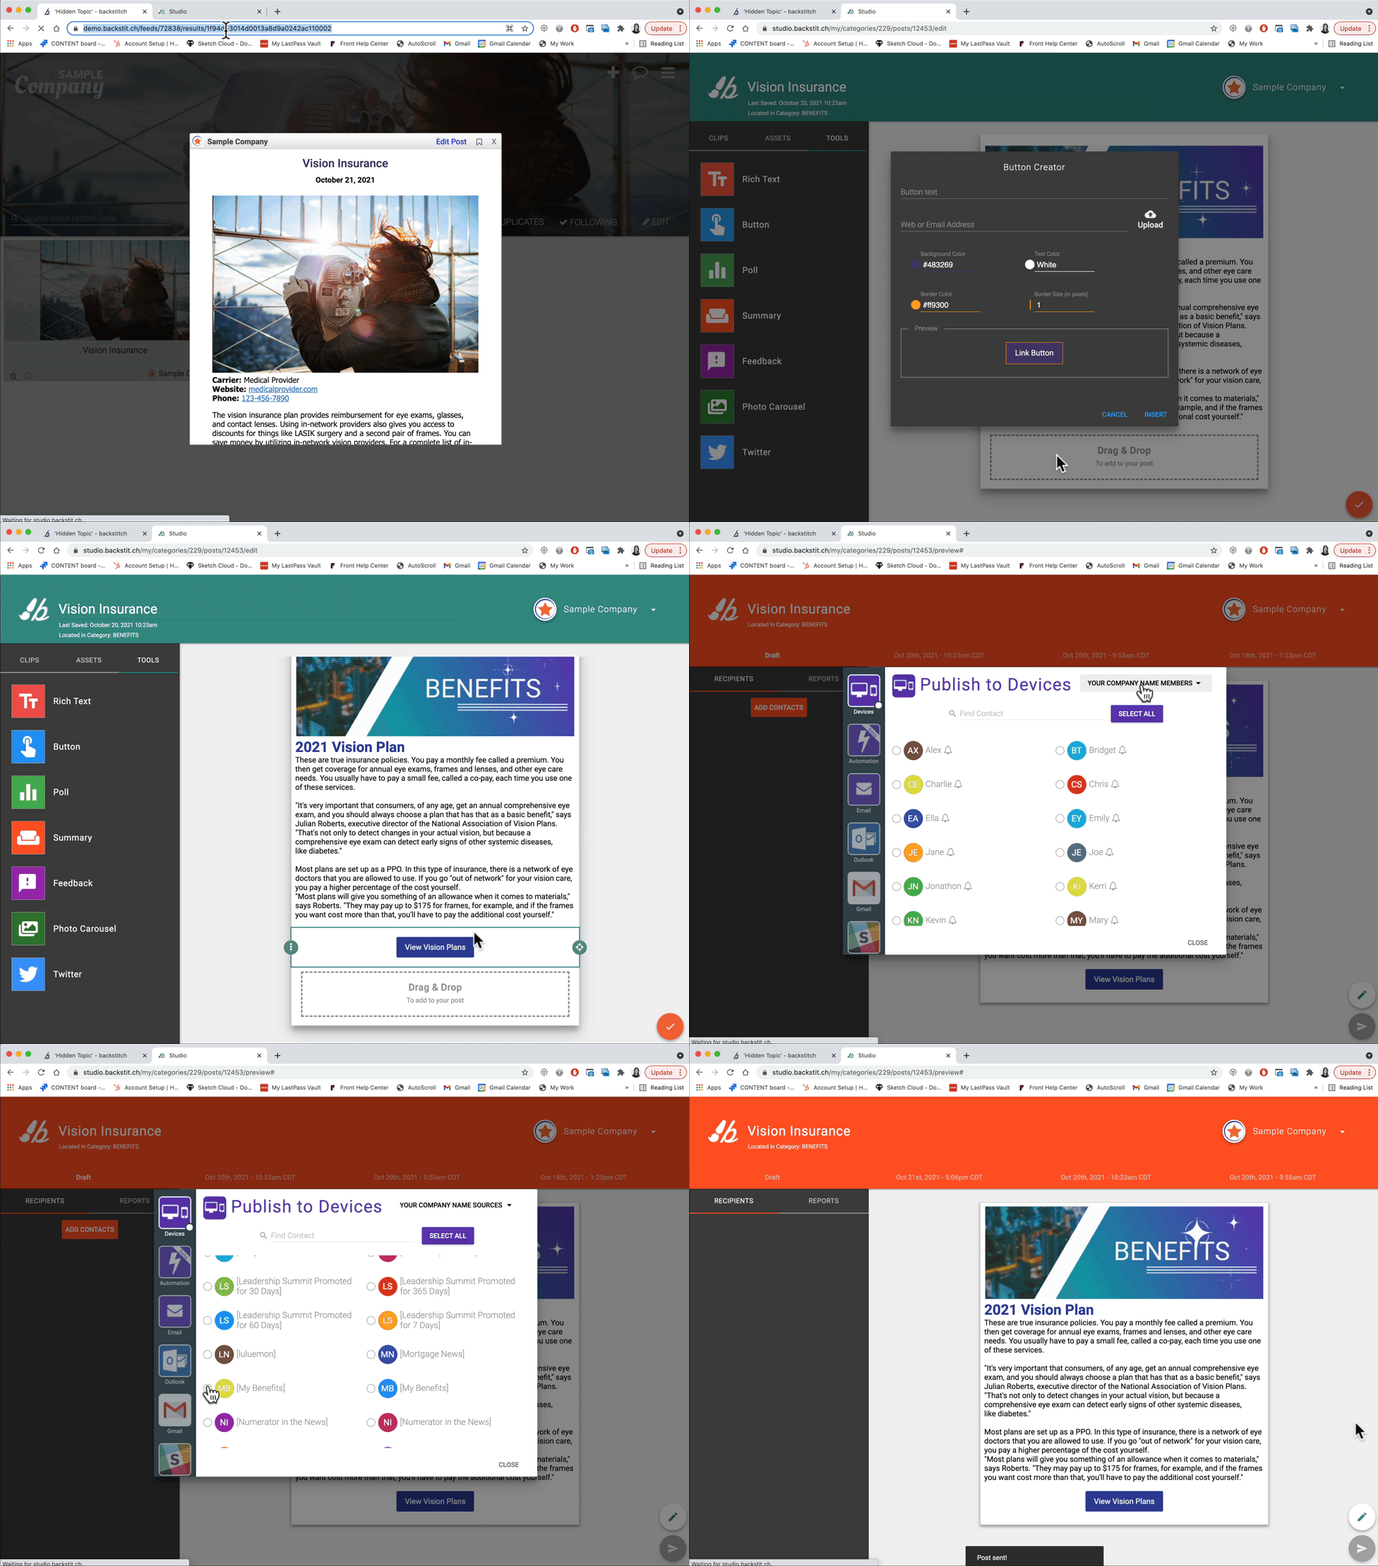
- Copy the link to the Linked Post in Reader.
- In Studio Post Manager, click [Edit] on the main Post.
- At the bottom of the Post, add a new Button that has call-to-action verbiage relating to your Linked Post.
-
- Paste the link to the Linked Post in the Button Creator.
-
- Re-Publish the main Post.
Need help setting up a Layered Topic? Contact your CS Manager or email support@backstitch.io
