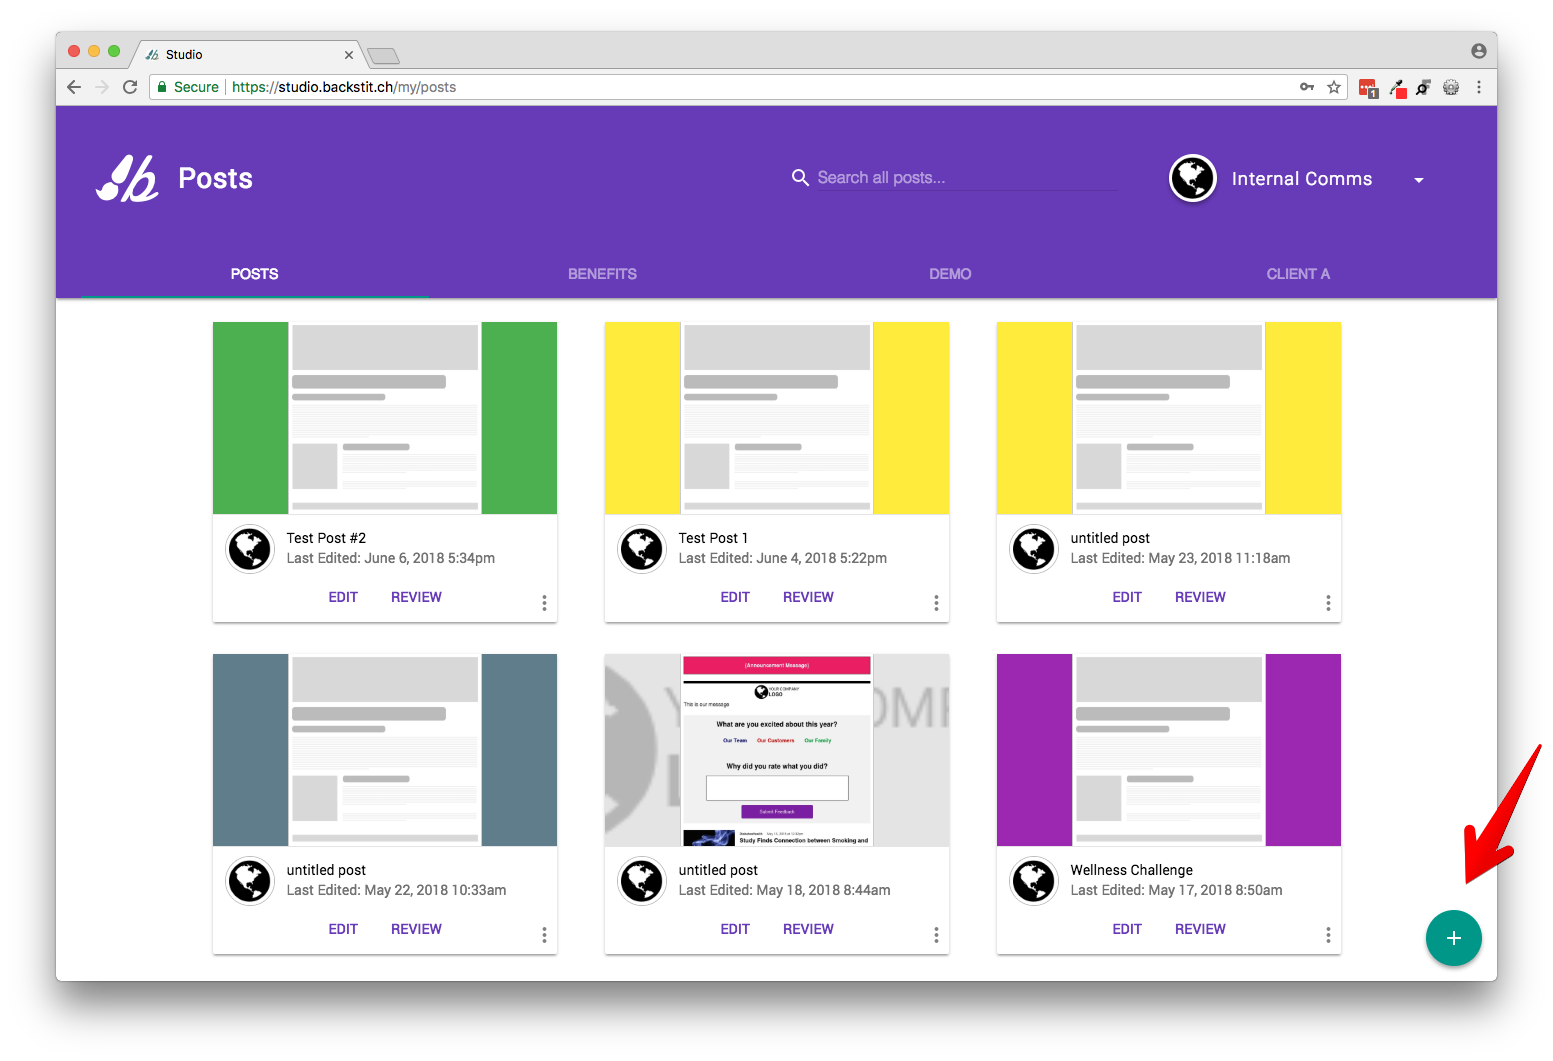
Here are the steps to create a Post in backstitch Studio.
Step 1: Create a Post
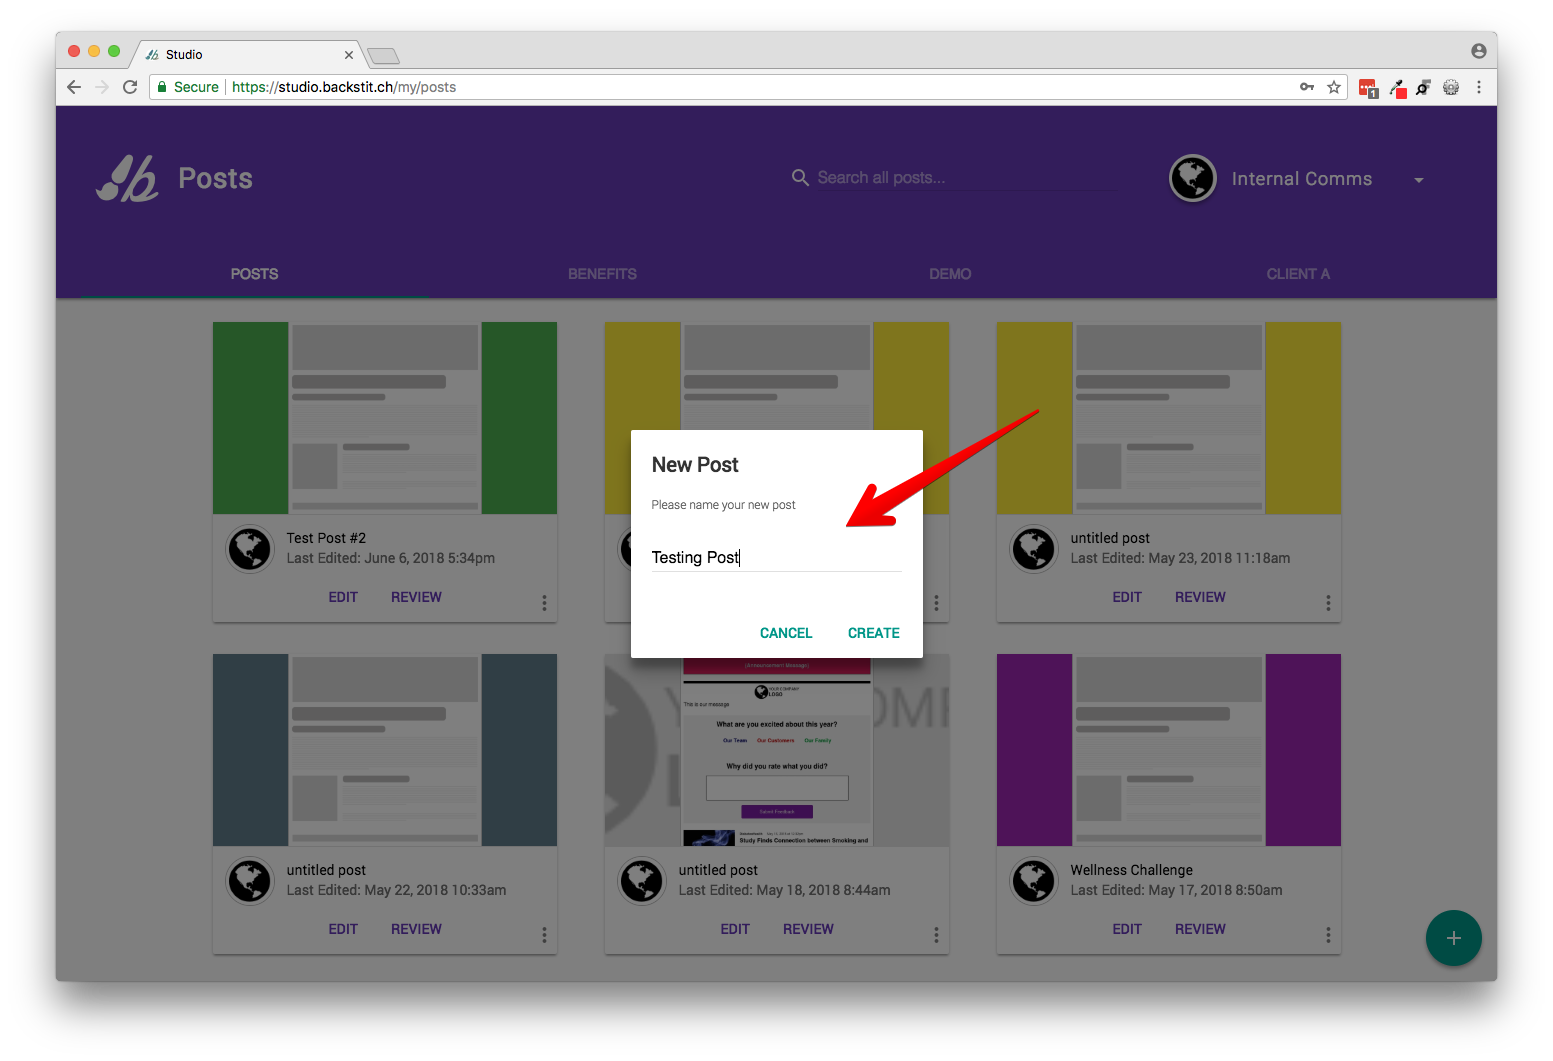
- Log in and move your mouse cursor over the teal [plus] icon at the bottom of the screen. The icon will change to a teal [pencil] icon.
- Click on it and enter a title for your Post.
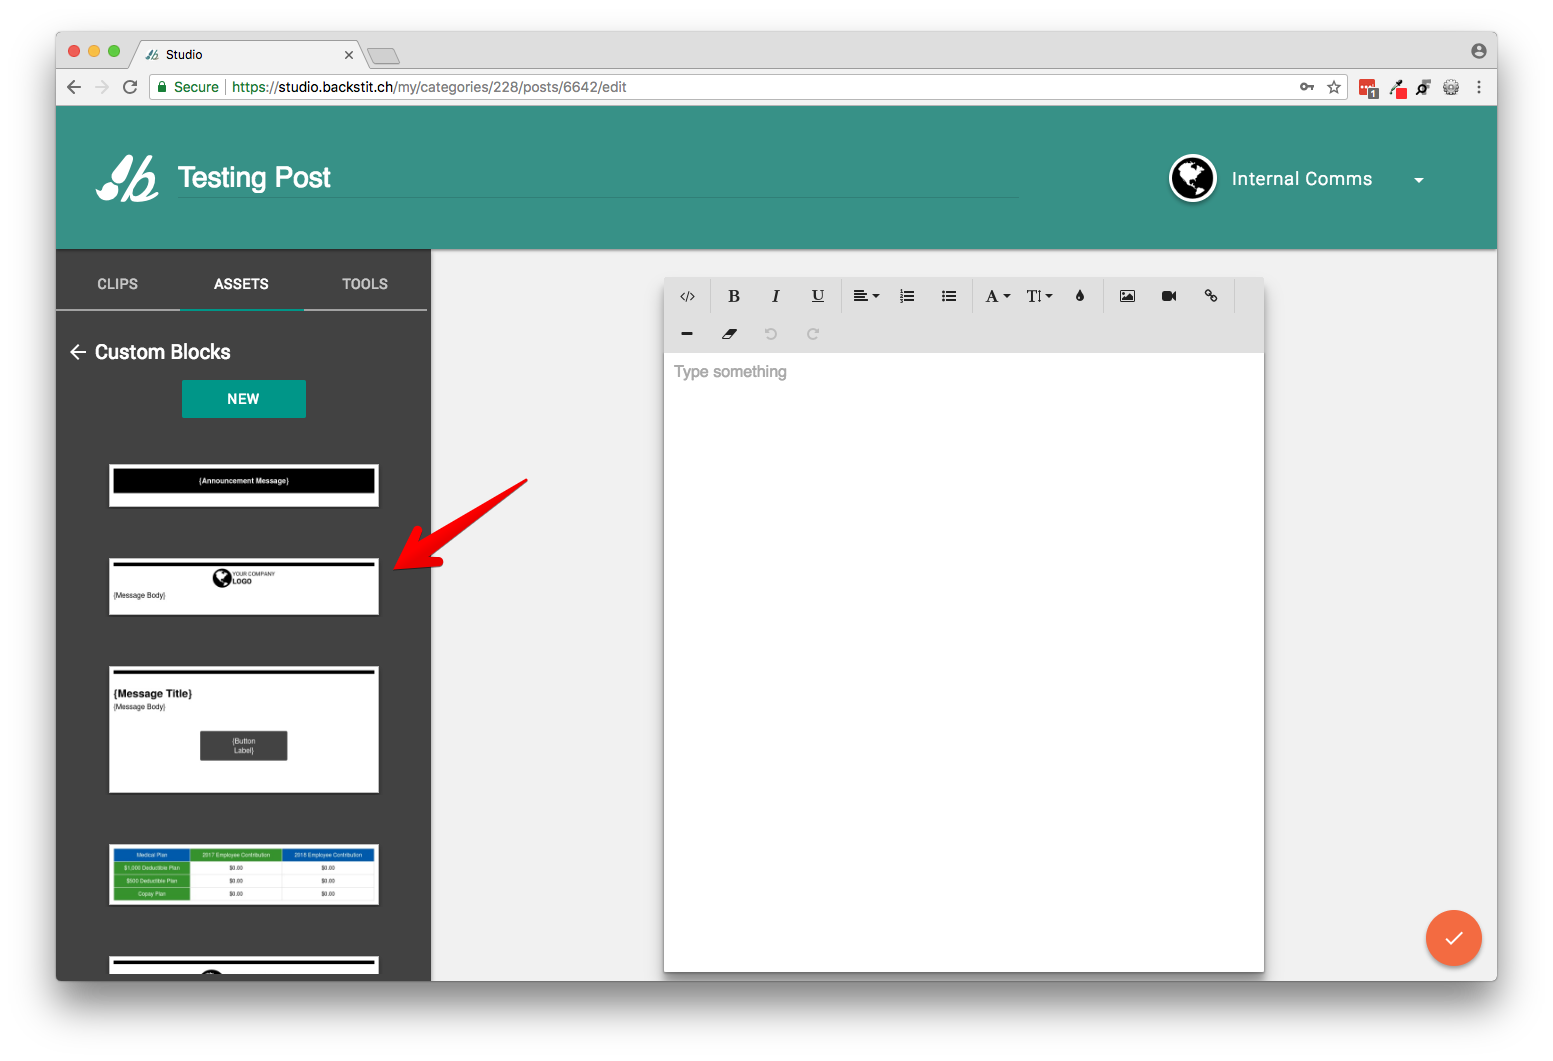
Step 2: Add your company logo
- From the left-side menu click on [Assets] then on [Custom Blocks] (appears on screen after clicking on Assets).
- Insert your company's logo by clicking on the image and dragging it to the page.
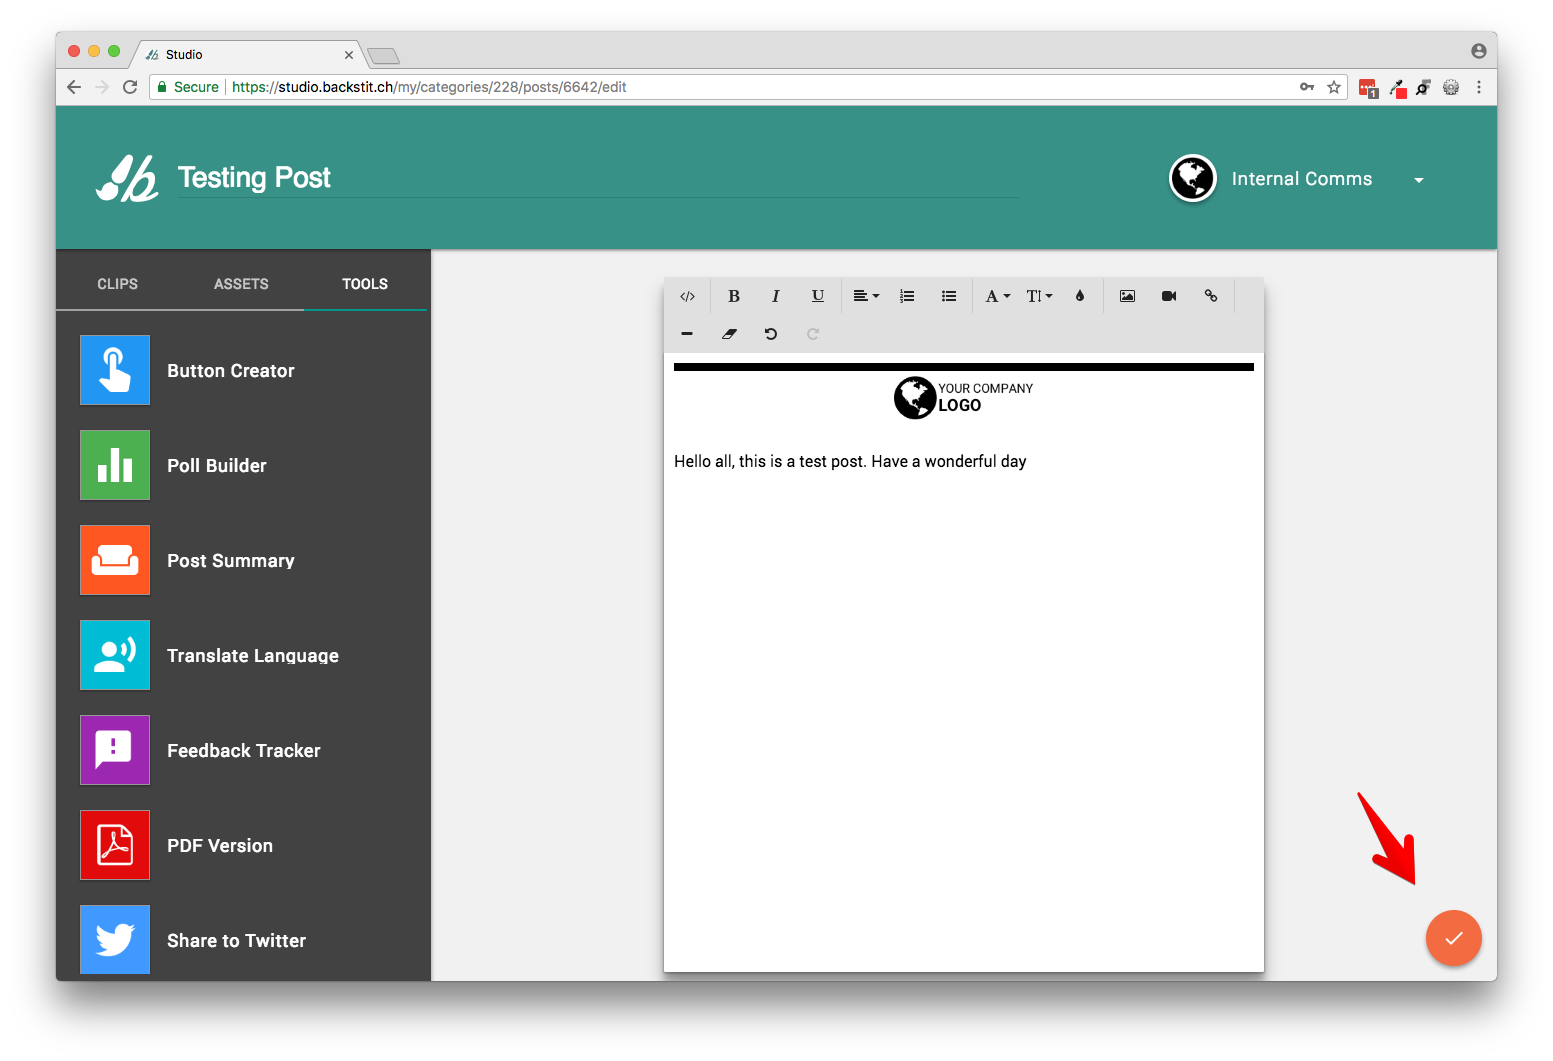
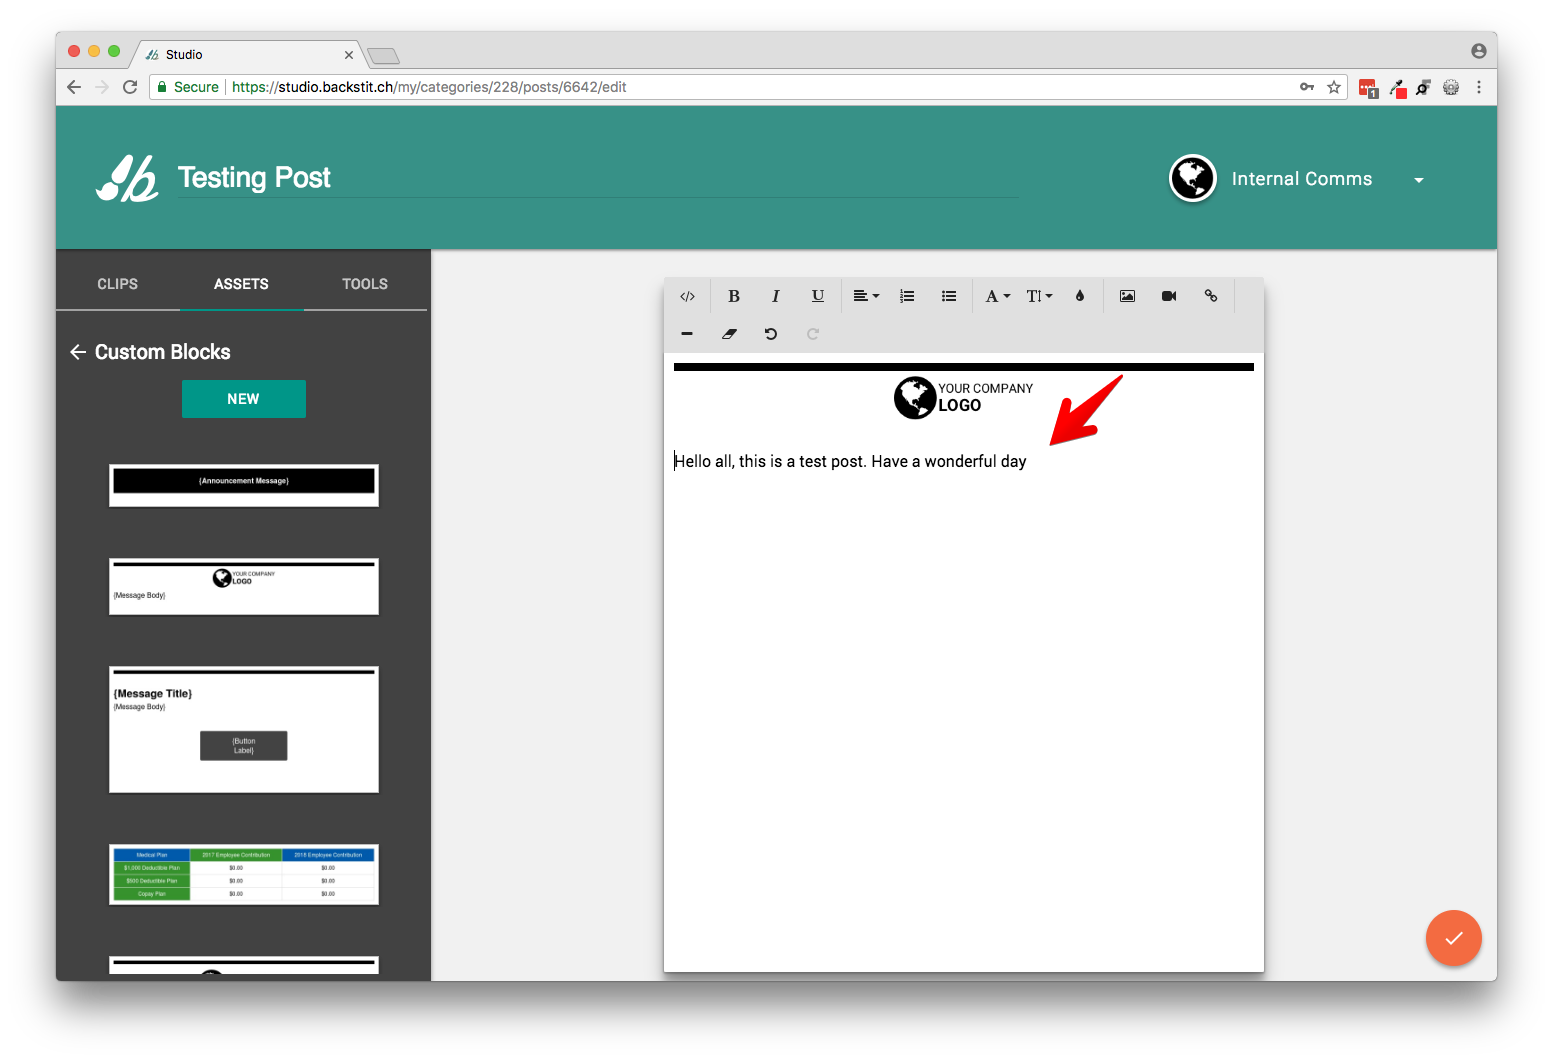
Step 3: Add content
- Enter the text for your Post. Format as necessary (e.g. size, justification, color).
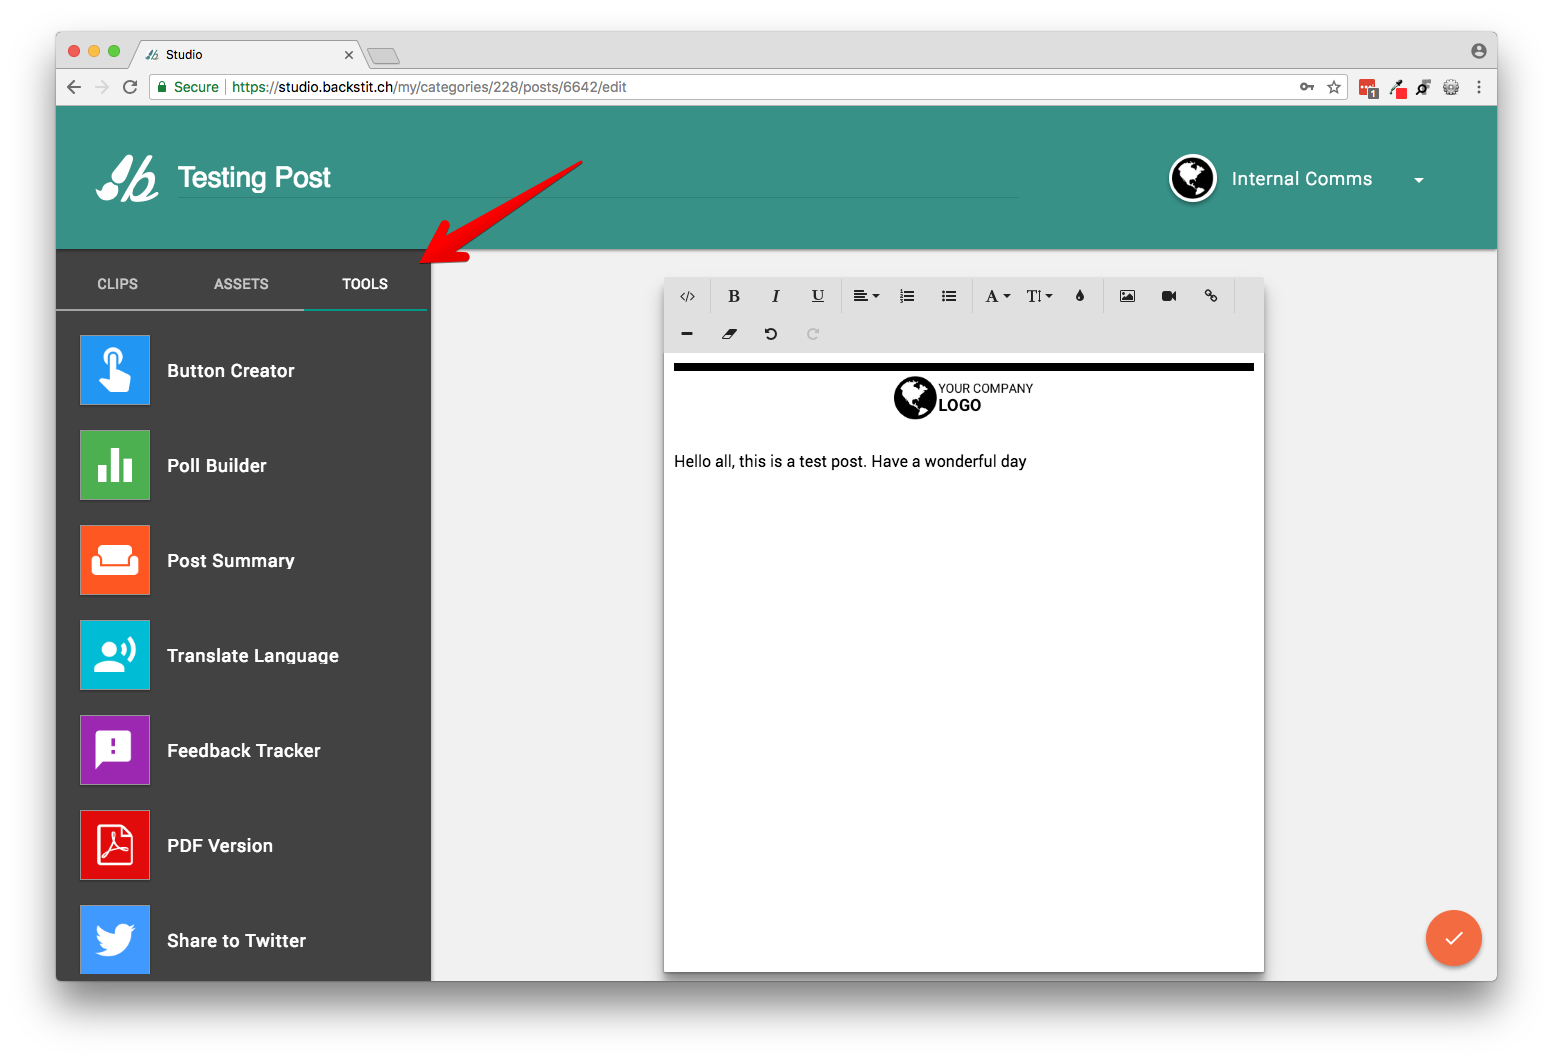
Step 4 (Optional): Add extra features
- To further enhance your Posts, go from the left-side menu click on [Tools] and try adding one of the following:
- [Button] that leads to a web address.
- [Poll] for generating a question and selected responses to it.
- [Feedback] for generating a question and an open-ended response.
Step 5: Save & Review your Post
- Click on the orange [checkmark] Button in the bottom right corner.