
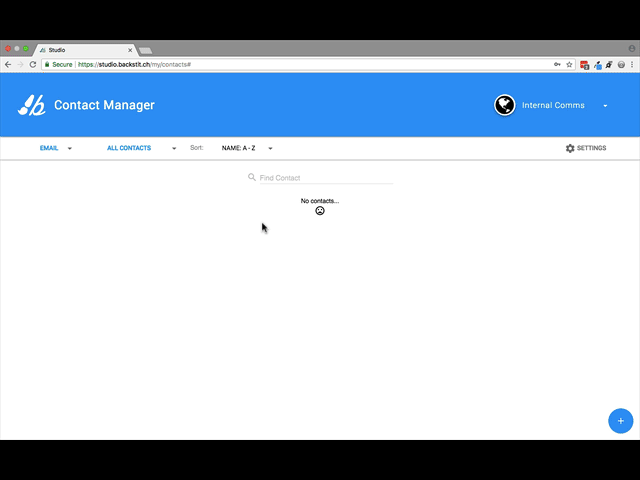
Hover over the [plus] icon at the bottom right corner of the screen and select the teal upload Button.
To bulk upload a list of contacts, hover over the [plus] icon at the bottom right corner of the screen and select the teal Upload Button.
Complete the import parameters
- If there are headers like "Name" and "Email" in the first row of your contacts list or file, please select the switch next to [File Contains Headers].
- Under the [File Contains Headers] identify what [Group] the new Contact Group should reside in. Use the drop-down to search and select an existing Group, or create a new Group using the fields in the drop-down menu.
- After clicking [Browse], and locating the contact file, the Upload Contacts page shows a representative view of your contact file.
- Use the dropdowns located in the 'header' of your file to select "Name" and "Email" for the appropriate columns.
Contact file requirements
- Note: the backstitch Studio Contact Group must have at least a Name and Email address as the minimum number of fields in the data file. The contacts file can contain other fields, but will not be used for generating the Contact in the new Contact Group.
- If you do not have the appropriate Name associated with the email address, please add a value to the Name field. For example, upload 100 Email addresses and use numbers 001 thru 100 for the Name values.
Bulk Upload the contacts
-
Once the import parameters for your contact file have been selected, you can upload contacts (names and email addresses) from the contacts file (e.g. Excel document) by clicking [Upload].
Pro tip: Read this article to prepare the contact list or file successfully.