
Recommendations for how to utilize backstitch for content approval.
Download a PDF version here - backstitch Best Practices: Approval Process
Step 1: Content Creator - Creates a ‘Draft’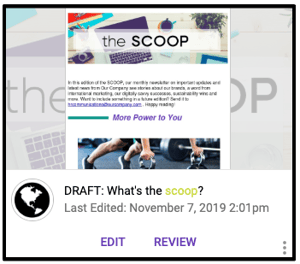
- Using the designated Studio organization method, the content creator first creates the assigned Post in Studio. For best practice, always label it as a “Draft” in the title of your Post.
Step 2: Publish Draft
- backstitch Studio allows Content Creators to publish to multiple platforms at once.
- Once the content is ready for approval, it’s best to publish to multiple channels (e.g. to a Topic in the app, email) using mobile alerts for notifications. The Approver can view it exactly how it looks once the final version is published for everyone.
- Think about where the final content will be viewed, then publish it to that same channel for the Approver to review.
- Preview Topic
- In backstitch Studio, Content Creators can set up “hidden Topics” that only certain people or Teams can view. These Topics are easily set up during configuration, or added to the platform after implementation.
- It’s best to think about who is approving content, and what kind of content they will review.
- Different departments can have their own “preview Topic,” such as “Marketing Preview” or “HR Preview”. The Admin decides who can view these hidden Topics.
- In backstitch Studio, Content Creators can set up “hidden Topics” that only certain people or Teams can view. These Topics are easily set up during configuration, or added to the platform after implementation.
- Email
- Send an email to the Approver(s) so they receive an email of your draft content to review easily in their inbox.
- Push Notification
- When publishing from Studio, select the Approver to send them a personal push notification right to their mobile device. This mobile alert notifies them right away, and signifies the content is ready for approval. The Post displays in their ‘My Notifications’ Topic area which allows for quick and easy access to the Post.
Step 3: Approval
-
Once the Content Creator publishes the draft, the Approver can look at it via multiple channels including a Topic area in the app (e.g. ‘Preview Topic’) and their email. Suggestions for edits are made to the Content Creator. The changes are made to the same Post/article as Studio automatically save the various versions (noted by the published date and time).
Step 4: Publish Final
- After the Post is approved, either:
- Change the title or
- Duplicate the draft
- Name it ‘Final’ or remove ‘Draft’ from the title. When publishing the final Post, select the appropriate Topic where the Post is viewed by all appropriate audiences (i.e. not the ‘Preview Topic’).
Pro Tip: backstitch Studio allows Content Creators to change the Post’s title when the content is published. Use this function to keep track of drafts and final Posts in Studio, without publishing the Post with ‘Final’ in the title or in the subject of the email.