
Click [Review] on any published Post to view or obtain a report of the metrics.
POST METRICS ONLINE
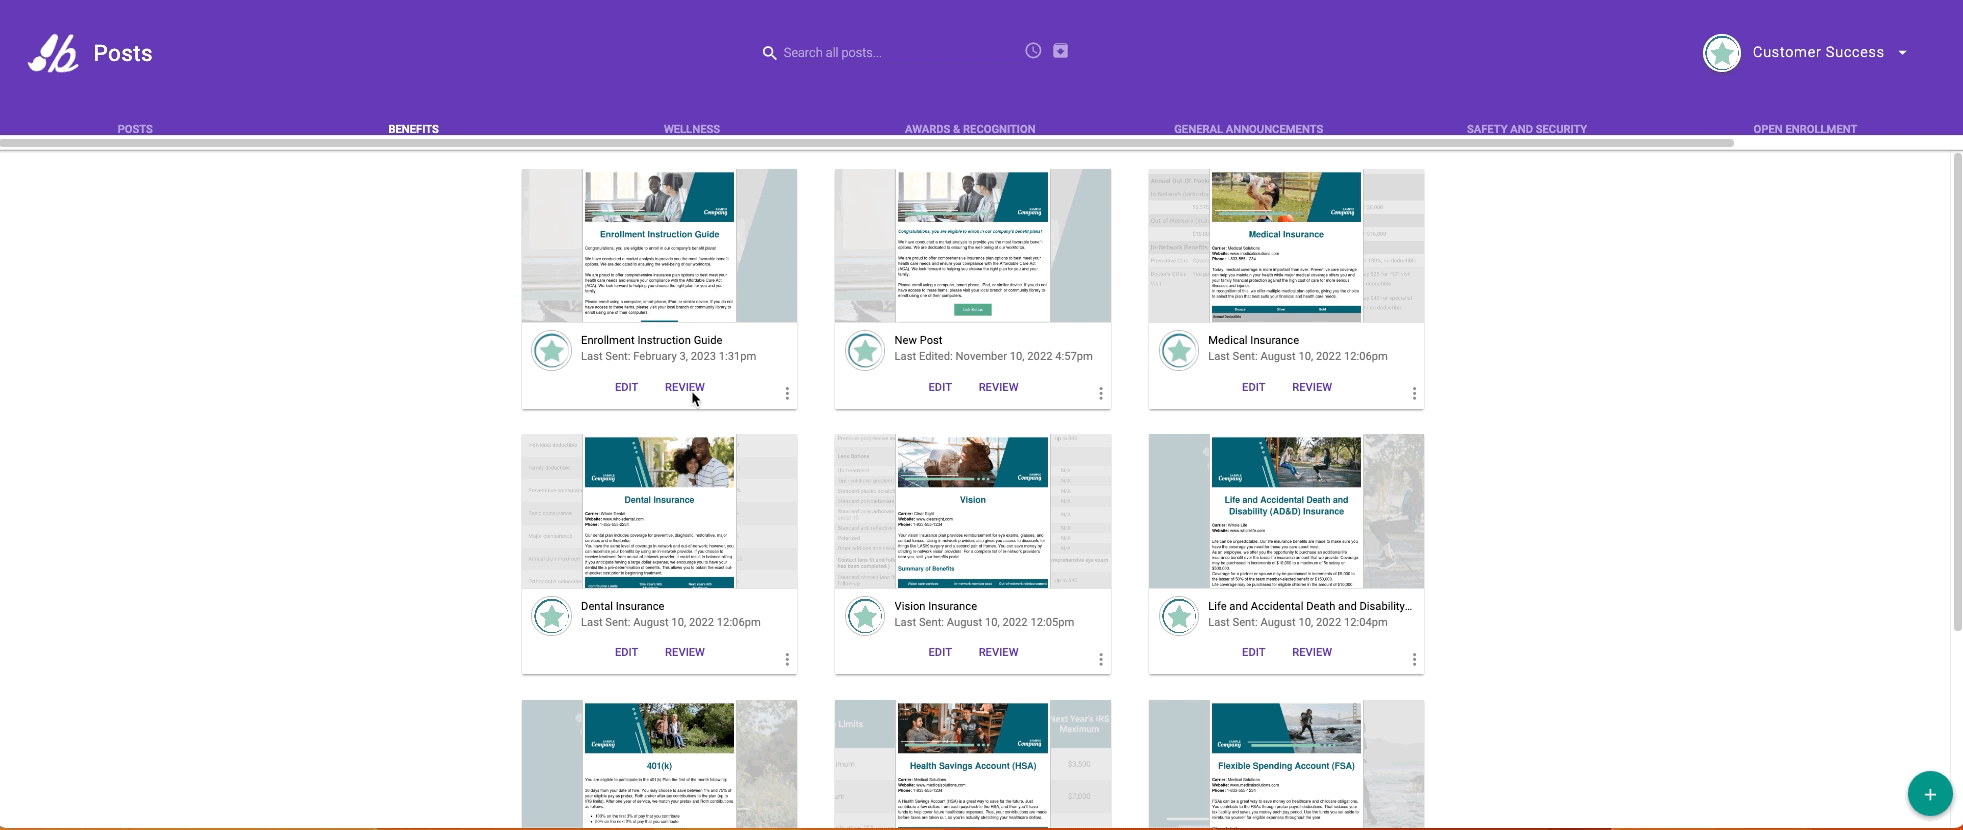
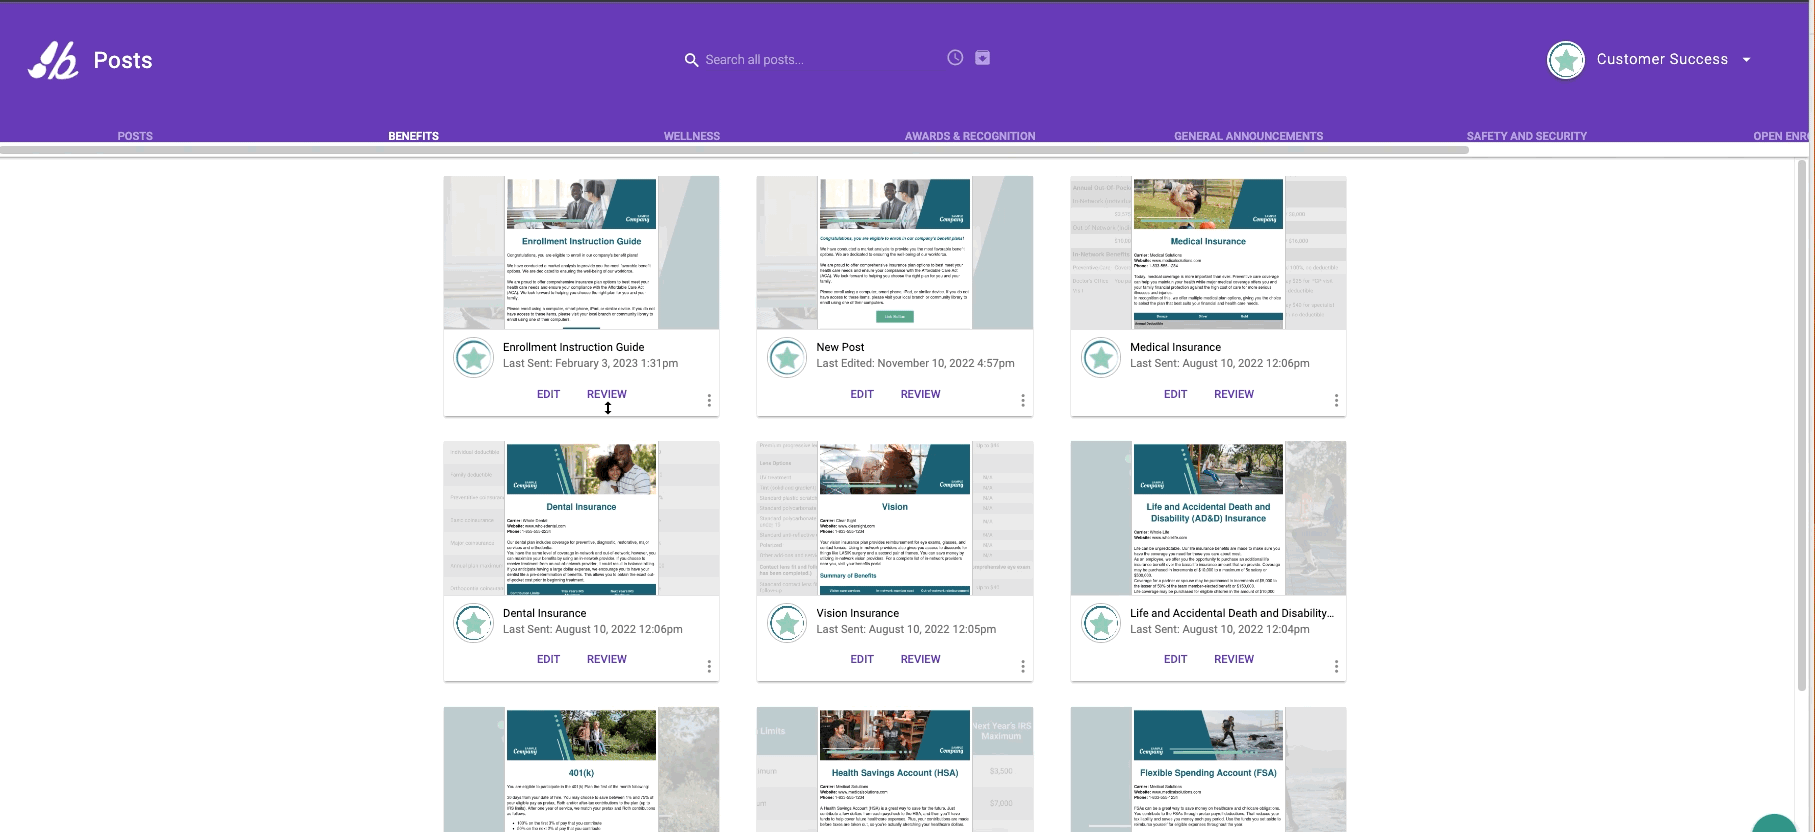
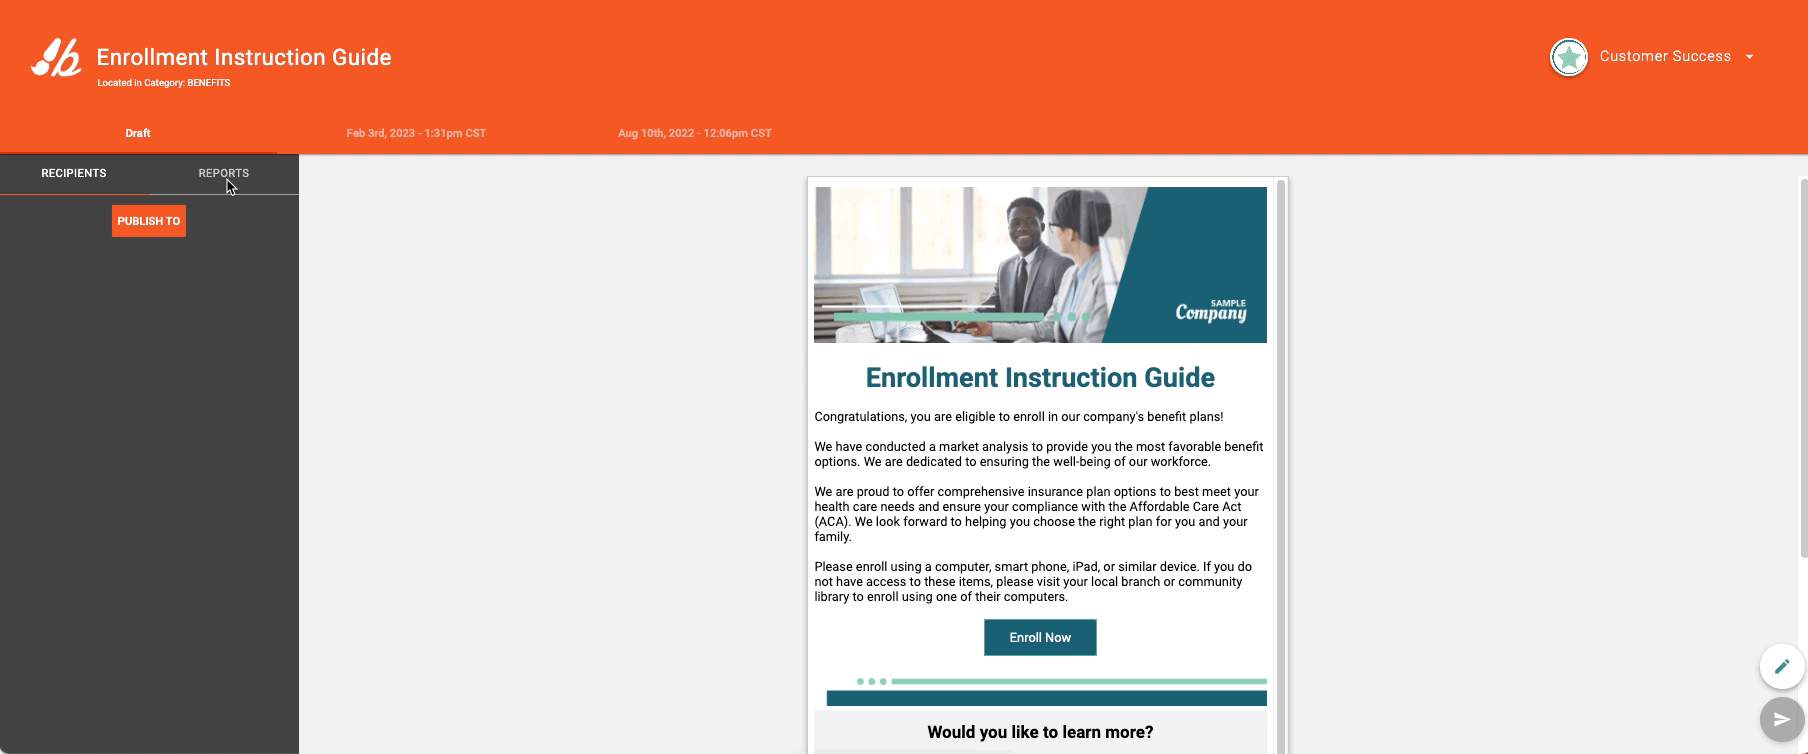
To find specific Post metrics, open Studio Post Manager (purple banner), search or navigate to your Post and click [Review] on the Post you want to view.
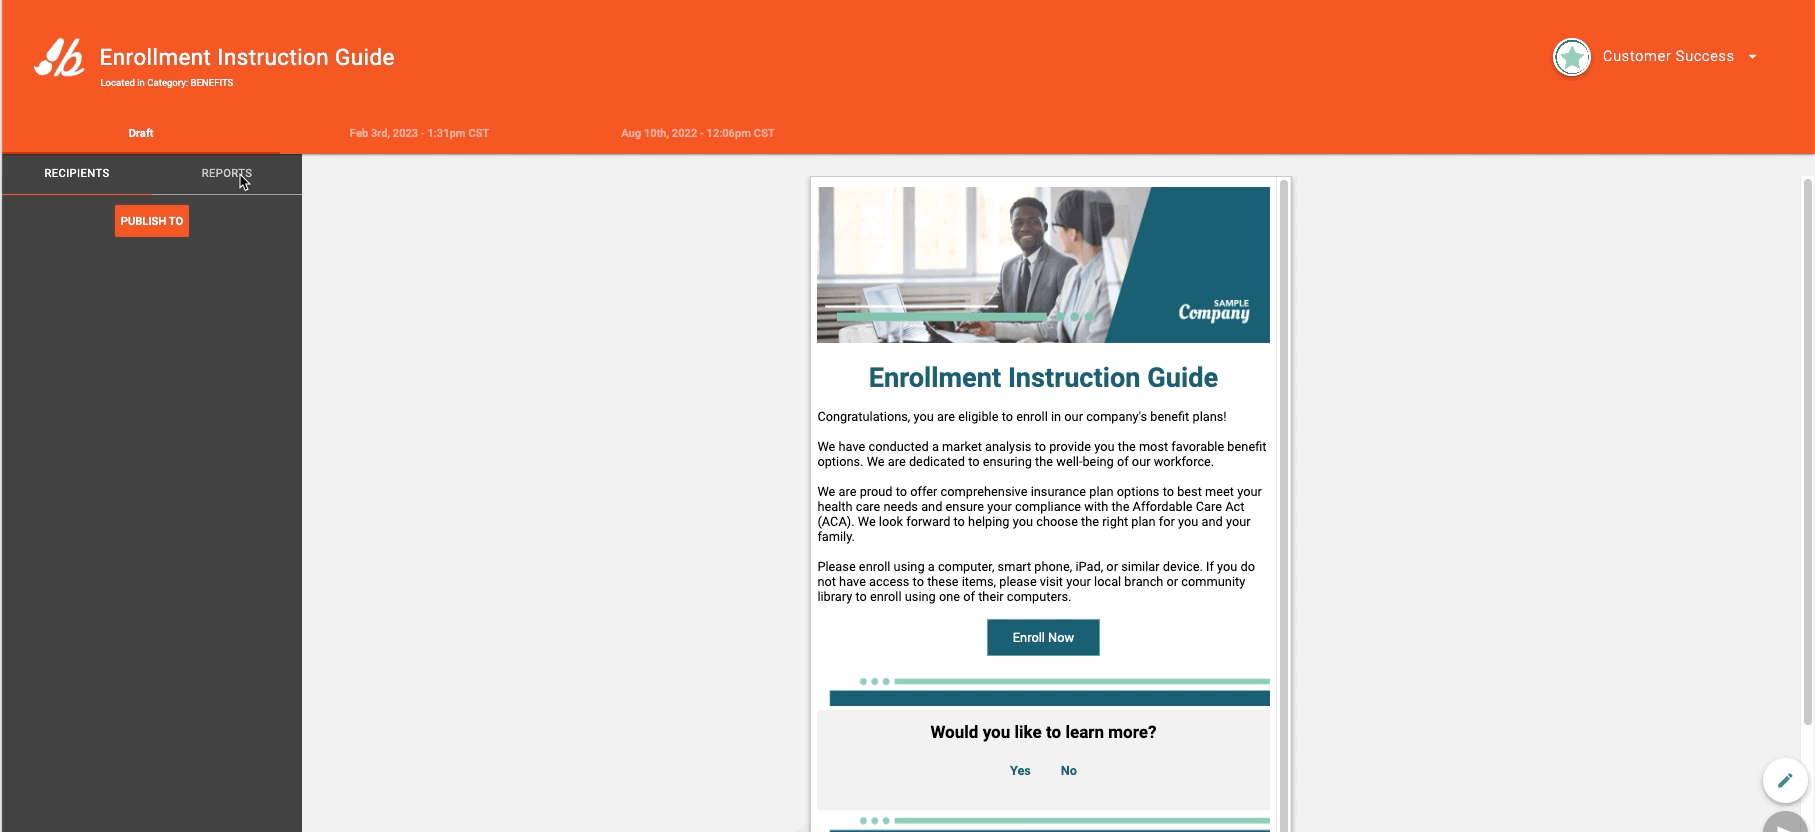
In the left navigation window (gray section) of the selected Post, two options are shown: Recipients and Reports.
- Click [Reports] to view the metrics about the Post.
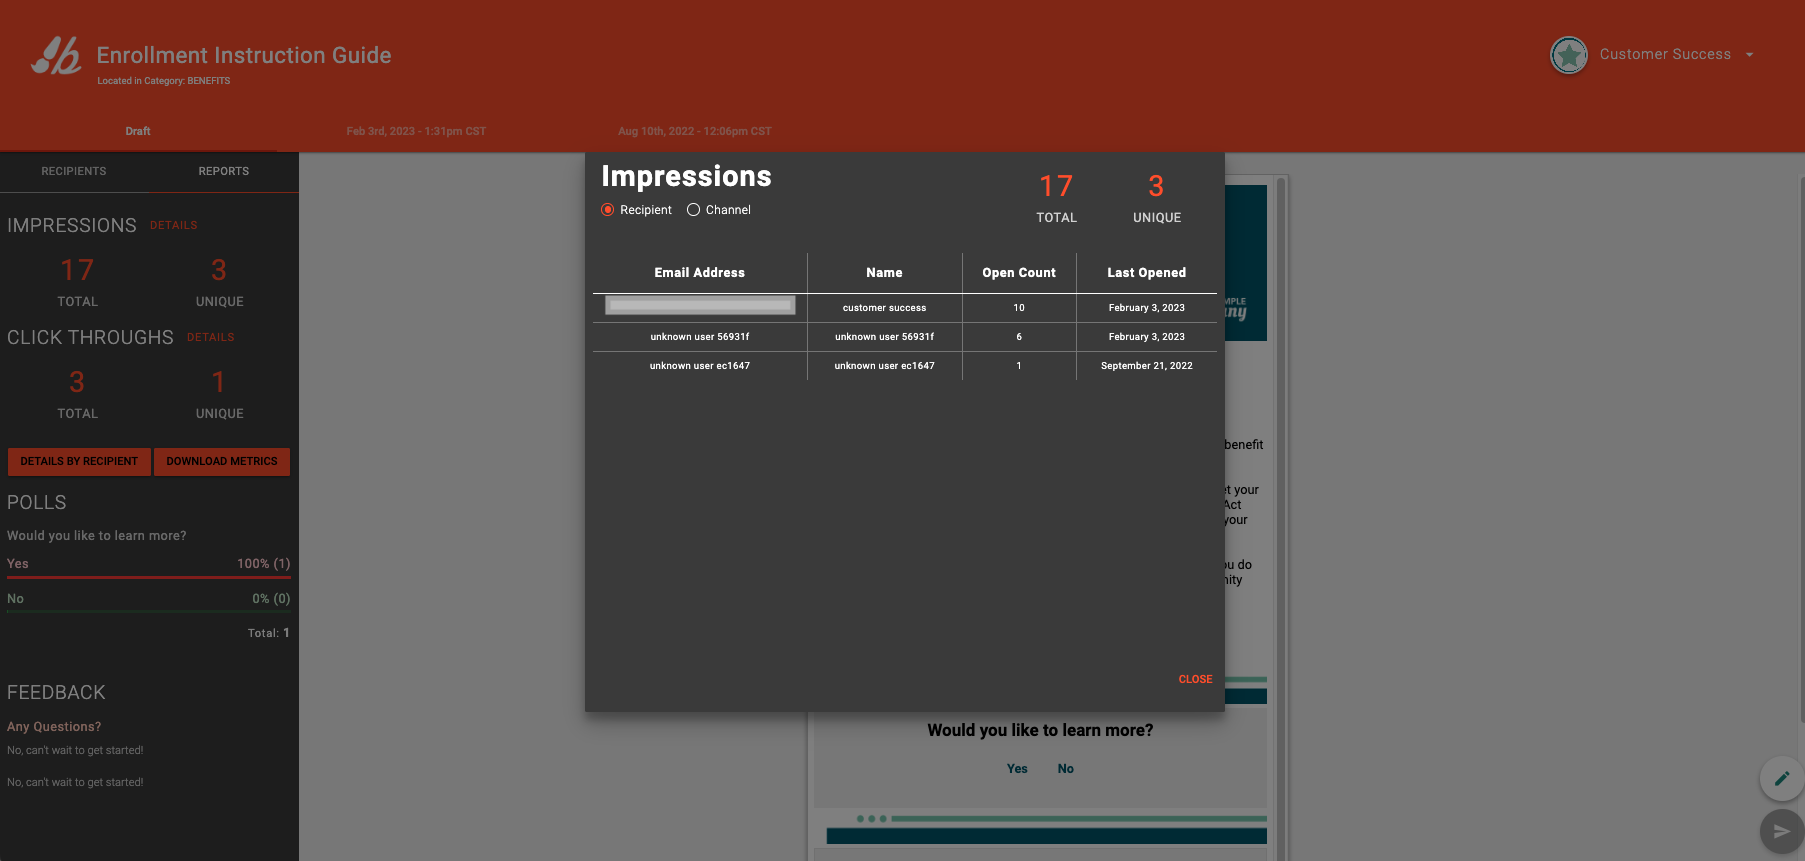
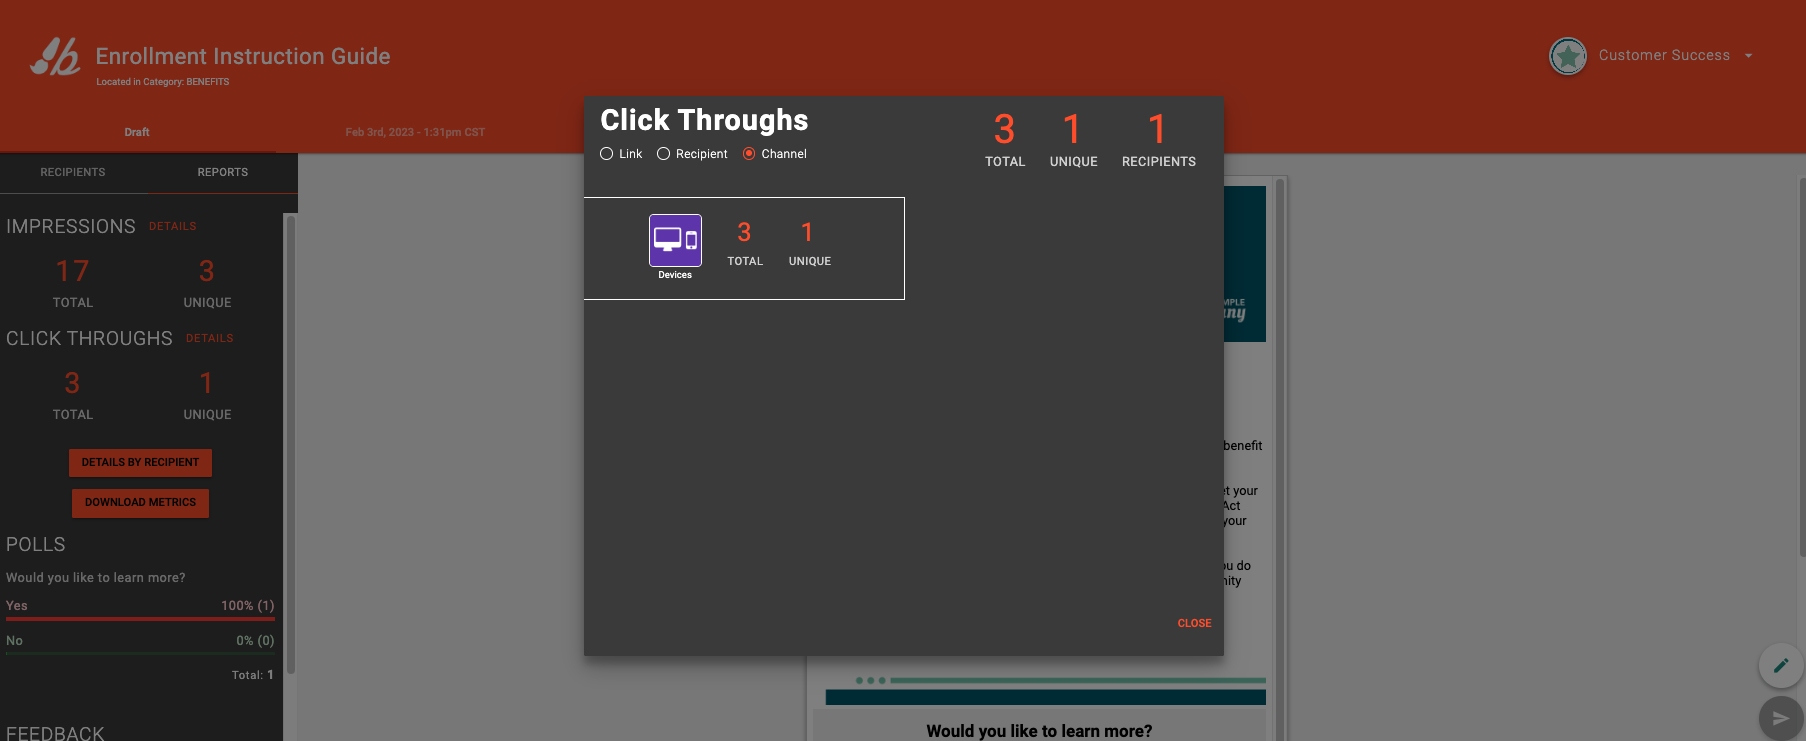
The left navigation window now shows the Post metrics such as Impressions, Click-throughs, and engagement metrics. If a Poll or Feedback tracker was used in the published Post, you can view the results online.
- Click [Details] to see the results associated with Impression or Click-throughs.
The online Impressions metrics show the Recipient's name (who opened the published Post), Open Count (number of times it was opened by the Recipient) and Last Opened (the most recent date it was opened) or Channel.
This is where you can see Click-throughs by link, Recipient, or Channel.
Note: If you want to view metrics on a certain version of your Post, select the Post date at the bottom of the orange banner to the right of [Draft].
POST METRICS REPORT
To download the metrics related to a published Post, navigate to your Post and click [Review] on the Post you want to view.
-
Click [Reports] on the sidebar menu
-
Click [Download Metrics]
-
Enter recipient email *required
-
Select checkboxes corresponding to data that should be downloaded
-
Click [Download Post Metrics]
Pro Tip: In the [Download Post Metrics] pop-up menu the Team Member Details are only shown to Members with Organization Admin status. Content Creators will only see Name and Identifier. The Team Member Details are the attributes in the file(s) shared with backstitch from the customer.
The default Team Member details/attributes listed in the report:
The Name attribute is the employee's name.
The Identifier attribute is the unique identifier identifying the User of the backstitch app (generally employee ID, email address).
Additional Team Member details/attributes shown to an Org Admin user include information shared with backstitch contained within the HR file (e.g. department, hire date, job title, location).
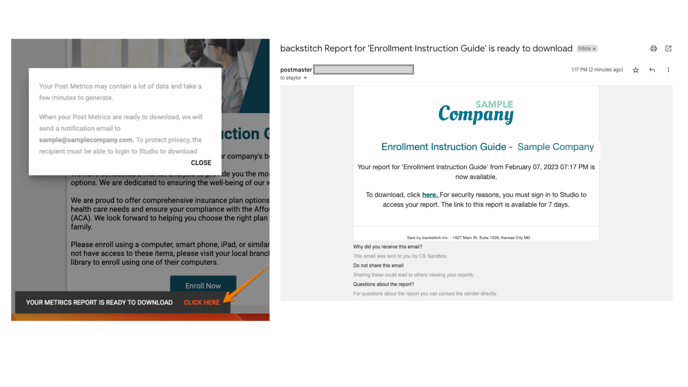
Once a report is generated, you receive a prompt ("Click Here" link located in the lower, middle of the Studio page) to open the report in Studio and also an email containing a link to download the report.
The Post Metrics report filename is the same as the published Studio Post's title.

- Name is the employee's name.
- Identifier is the unique identifier identifying the User of the backstitch app (generally employee ID, email address).
- Open_Count represents when a Post is opened on any Channel (e.g. the app, email).
- Click_Count represents when a “link” within Post is clicked from any Channel.